


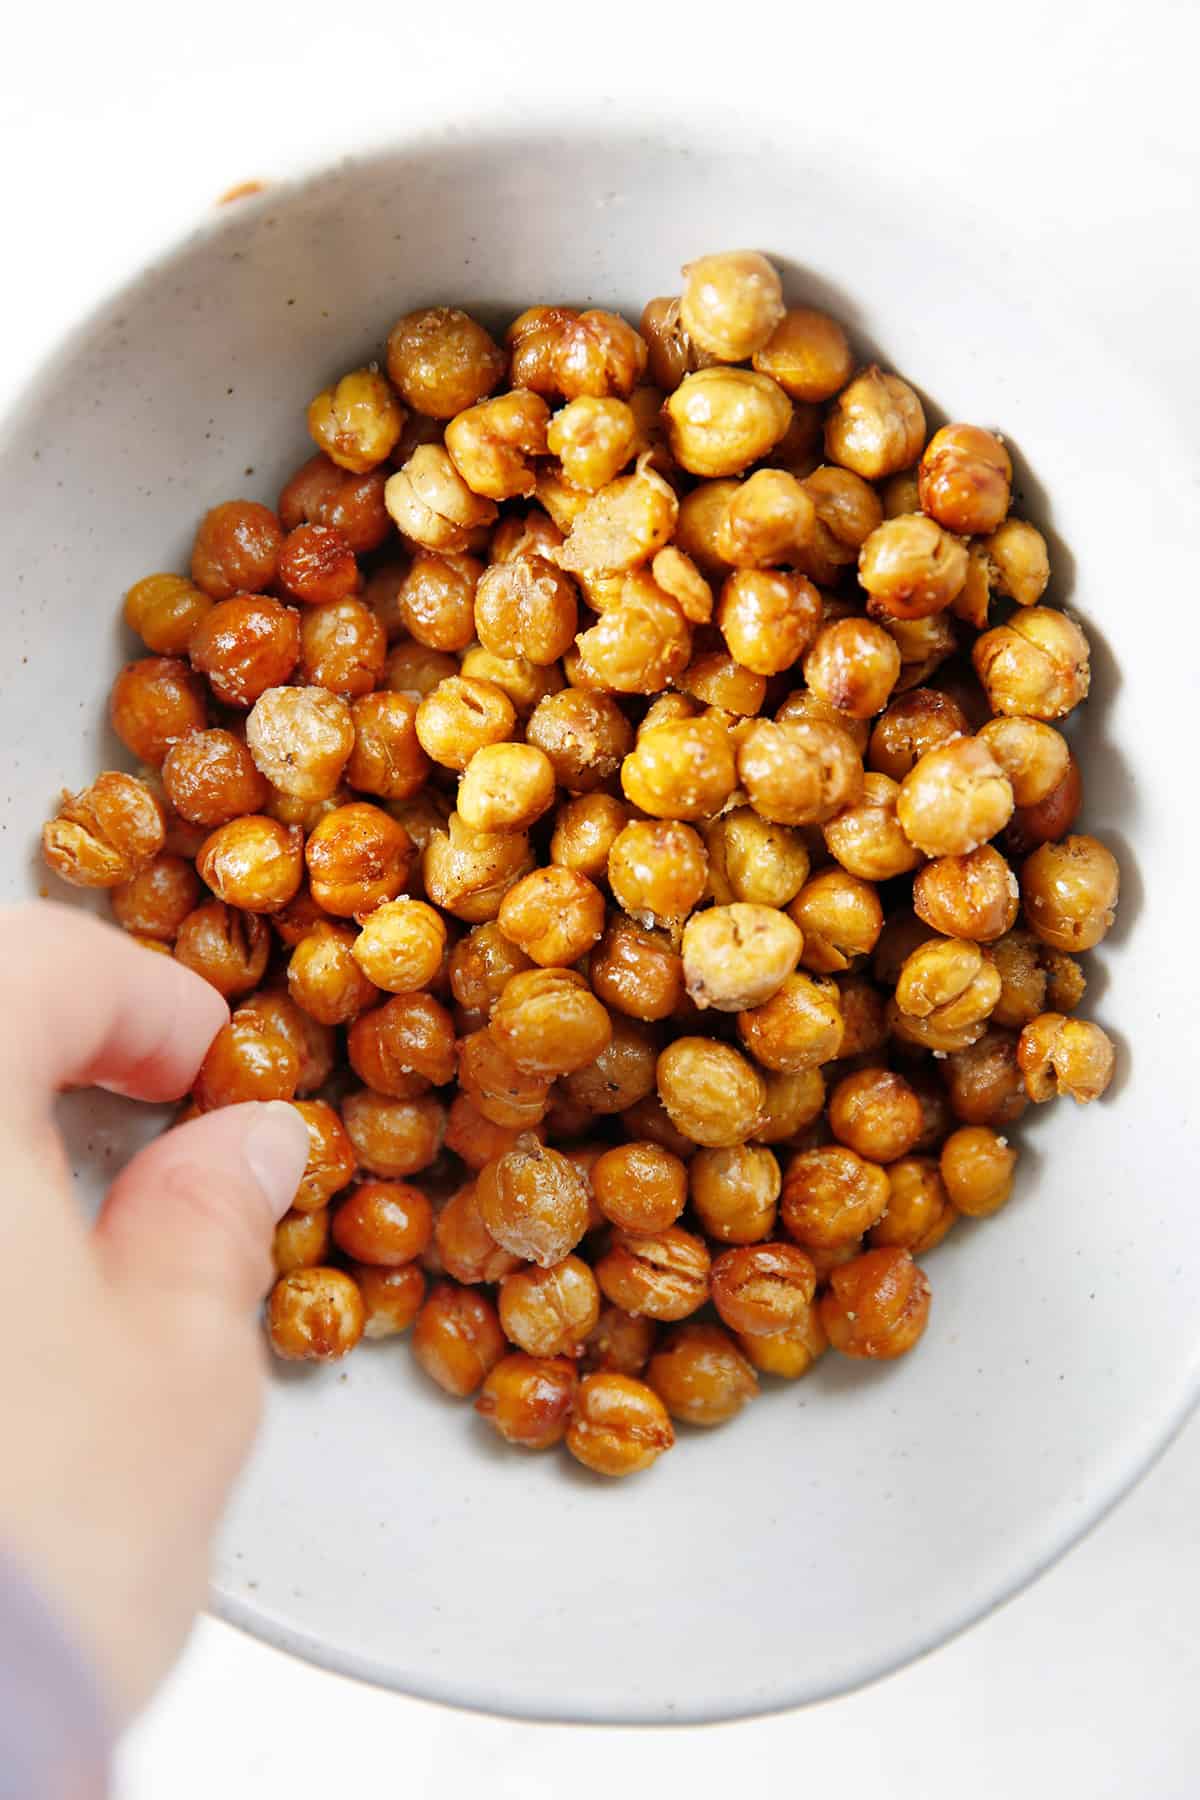
These crispy chickpeas are the perfect healthy savory snack. They’re gluten-free, dairy-free, vegan, crunchy and ready in just 5 minutes!
Sharing Air Fryer Chickpeas and Oven Roasting in this tutorial!
Easy Crispy Chickpeas
Chickpeas or chickpeas are one of the versatile pantry staples.I mean, you can add them to soupstew, or saladconvert them to baked goodsmix them into Hummus,your name!
Well, these crispy chickpeas are another great way to use that can of chickpeas you have sitting in the pantry. Just toss them in a little oil and seasoning and bake until golden and crispy.
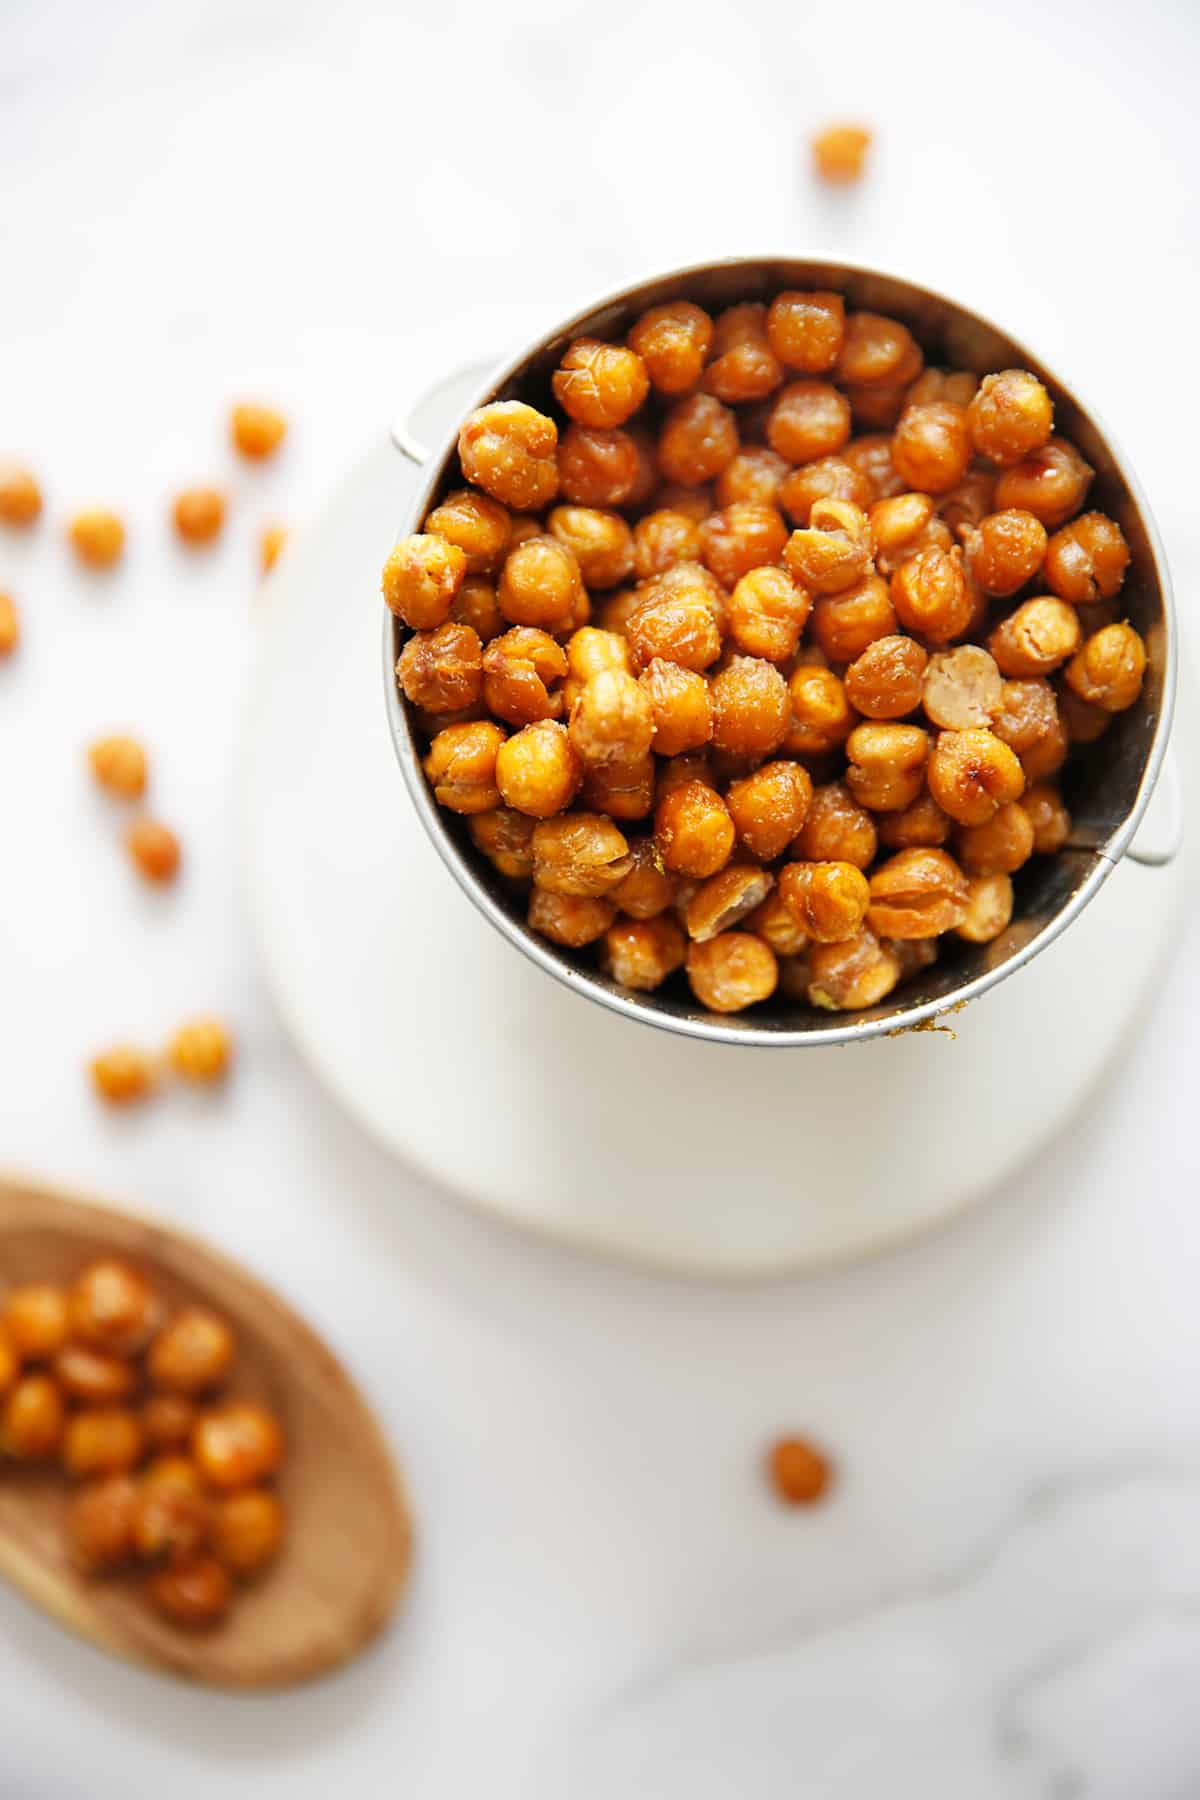
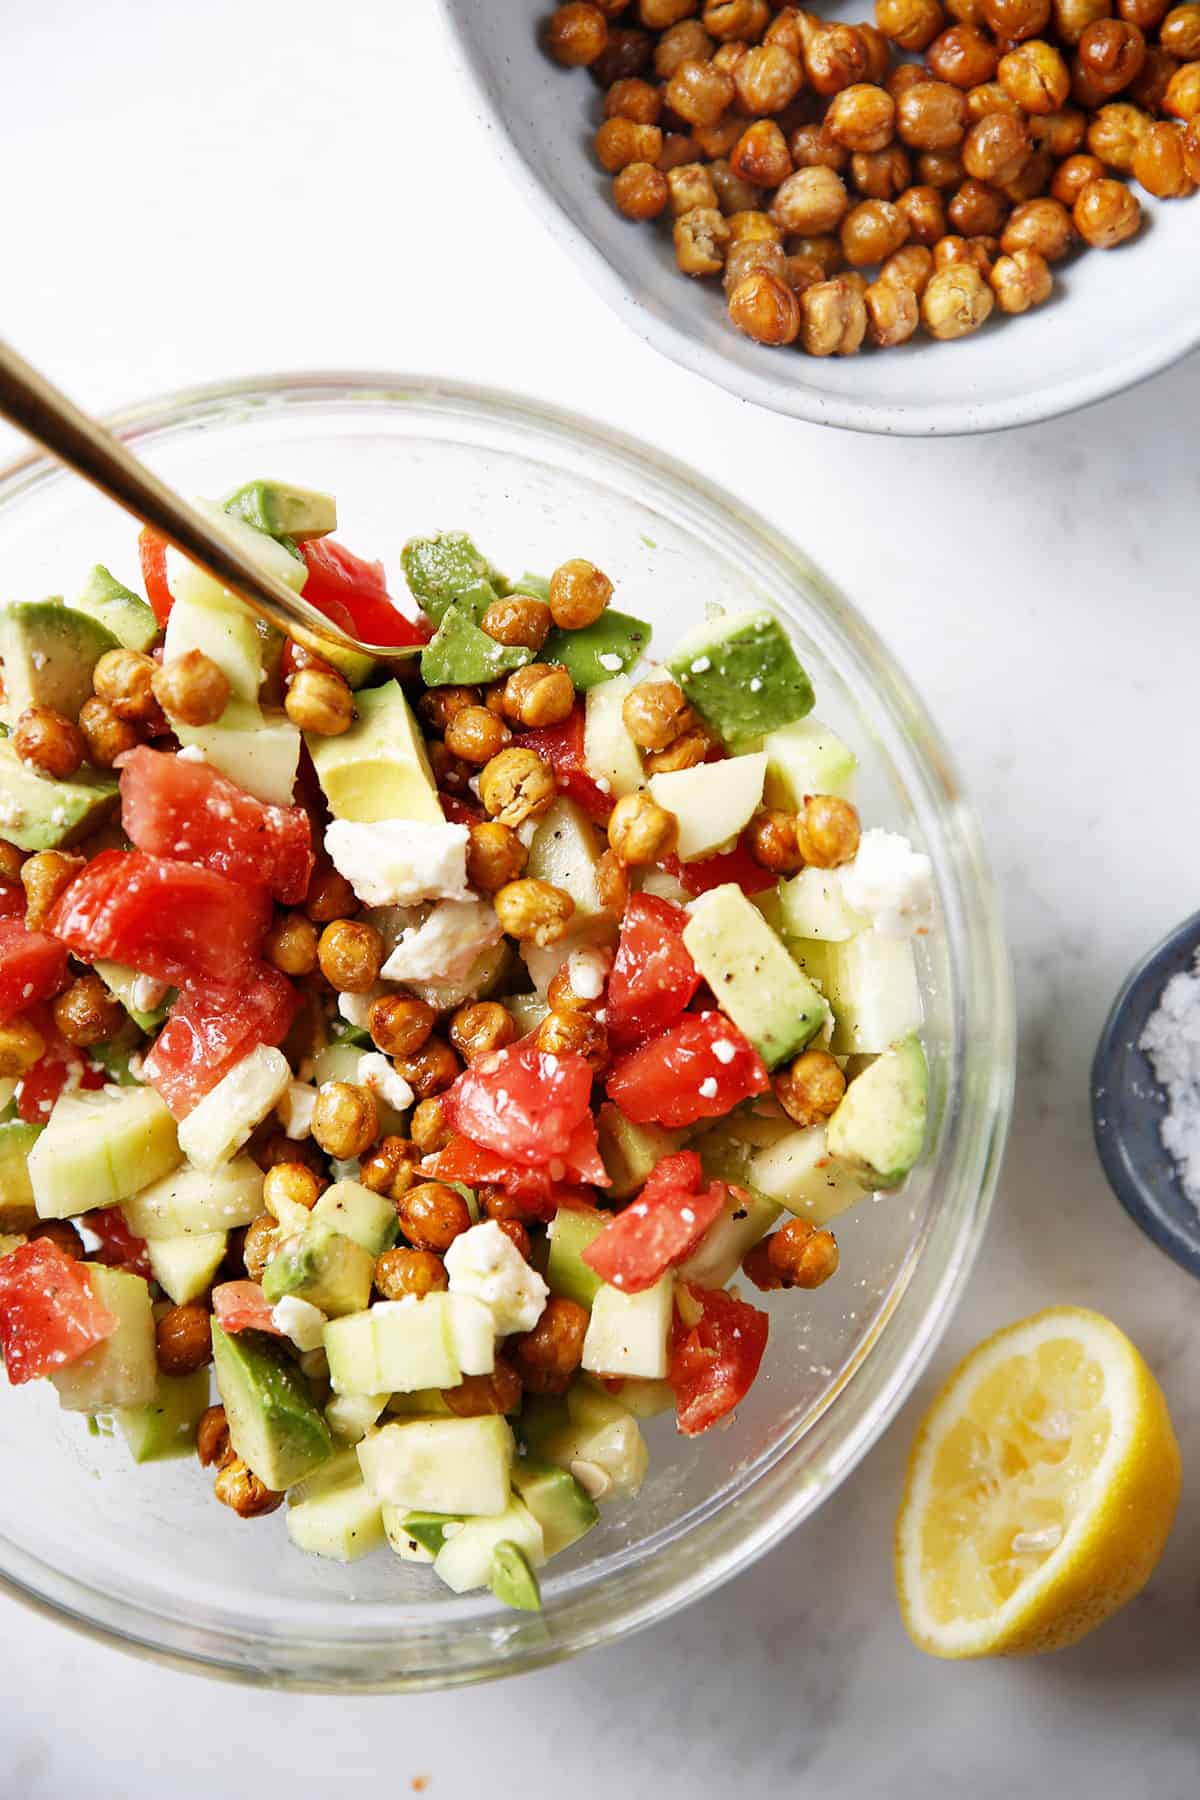
These chickpeas are the perfect savory snack or topping for soups or salads! Whether making air fryer chickpeas or oven roasted chickpeas, these will be a hit with everyone!
materials needed:
- Chickpeas: I use canned chickpeas to keep this recipe quick and easy!
- Oil: The oil helps crisp the chickpeas and helps the dressing stick.
- Salt and pepper: Used to season chickpeas before roasting.
- Cumin, Garlic Powder and Lemon Peel: Optional seasoning to add after baking!
How to Prepare Chickpeas
This is the most tedious part of the recipe! Chickpeas require:
- washed
- drain
- dry
- remove any loose skin
This means that after you rinse and drain the chickpeas, you need to dry them between two clean kitchen towels. When you do this, most of the skins of the chickpeas will loosen. Drop those. If you feel so inclined, you can take a minute or two to remove the remaining skins from the chickpeas that are not loose. You pick up the chickpeas and give them a gentle pinch, and the skins loosen. It’s not strictly necessary, but it does make the chickpeas super crispy in the oven.
How to Make Crispy Chickpeas in the Oven
Since we’re using canned chickpeas, this easy and healthy savory snack is ready in just 5 minutes!
- To prepare the chickpeas: Drain and rinse the chickpeas, then dry with two kitchen towels.
- bake: Place chickpeas on a baking sheet and add oil, salt and pepper. Bake at 350ºF for 40 minutes.
- season: Remove chickpeas from oven, add extra oil, cumin, garlic powder, and lemon zest, and roast for an additional 5 minutes.
- Cool and Serve: Serve or store after cooling.
How to Make Crunchy Chickpeas in the Air Fryer
Turns out, you can also make roasted chickpeas in the air fryer! That’s it:
- To prepare the chickpeas: Prepare chickpeas according to directions. Drain and rinse the chickpeas, then dry with two kitchen towels.
- Air fryer: Air fry the chickpeas at 390ºF for 15 minutes, shaking the basket every 5 minutes to redistribute. You want them to be super crunchy and golden brown!
- Season, cool, and serve: Toss the chickpeas into a bowl, spray or drizzle with olive oil, and season with salt, pepper, and optional additions.
The key to air fryer chickpeas is seasoning them after they’re cooked. Seasoning before the air fryer will cause the spices to burn.
Which chickpeas to use?
We use the canned version! They’re so cheap, you probably already stock some in the back of your pantry. Also, there is no additional preparation work. Just drain, rinse, dry and bake!
Do chickpeas need to be cooked before roasting?
yes! I use canned chickpeas (which are already cooked) to make this recipe easy. However, you can totally use dried chickpeas if you prefer. You just need to cook them first.
Why are my chickpeas not crispy?
There are several reasons why chickpeas are not crispy. Here are some things you can do to make sure they do!
- Dry them. If the chickpeas go into the oven with too much moisture, they will steam instead of roasting. This will prevent them from getting as crispy as we want.
- Remove skin. The chickpea skins keep the chickpeas hydrated. Towel drying will naturally remove some skin quickly, but if you feel so inclined, you can take a minute or two to remove any skin that didn’t come off during drying. Pick up the chickpeas and give them a gentle squeeze to loosen the skins.
- Use oil. The oil increases the surface temperature of the chickpeas, which helps give them their delicious crunchy texture.
- Bake or air fry longer. The brand of chickpeas can vary, so while 45 minutes (in the oven) is usually perfect for me, you may have to wait a few more minutes for them to be nice and crispy. For the air fryer, since they are all a little different, keep an eye on the chickpeas at the end and cook for an extra 2-3 minutes if needed for extra crispiness!
- Save the seasoning for later! Roast the chickpeas with just oil and salt, and once they’re crisp, add the seasoning and put back in the oven for a few minutes. If you season them first, the spices will burn in the oven.
How to store
These crunchy chickpeas are best taken out of the oven the day they are made. But they do have the potential to get crispier as they cool!
We’ve found that the best way to store them is to cool them outside the oven and place them on an uncovered baking sheet in a closed oven.
The reason you take them out and put them back in is that you don’t want to keep cooking them. You just want to leave them in the oven for further drying. This is not required, but a trick we discovered by accident! After overnight in the oven, place the chickpeas in a storage container. Or skip this and simply store!
Otherwise, chickpeas will last up to 5 days In a vented container, such as a paper bag or a loosely sealed storage container. They will be more chewy but still delicious.
Other seasoning ideas:
I love my classic version with some lemon zest fun, but these are great too!
More how-to guides:
How to Serve Your Crispy Chickpeas!
Watch the video:
How to Make Crunchy Chickpeas

These crispy chickpeas are the perfect healthy savory snack. They’re gluten-free, dairy-free, vegan, crunchy and ready in just 5 minutes! Sharing Air Fryer Chickpeas and Oven Roasting in this tutorial!
- Preparation time: 5 minutes
- Cooking time: 45 minutes
- total time: 50 minutes
- yield: 3 cups 1X
- category: snack
- delicacy: Gluten Free, Dairy Free, Vegan, Paleo
- 2–15ounces canned chickpeas
- 2 tablespoons oil, divided
- 1 teaspoon Salt
- 1/2 teaspoon ground Black pepper
- 1/2 teaspoon cumin (optional)
- 1/2 teaspoon garlic powder (optional)
- enthusiasm comes from 1 lemon (optional)
Oven Orientation
- Preheat oven to 350 degrees.
- Drain and rinse the chickpeas. Place on a clean kitchen towel and dry the chickpeas. The skin will start to sag. You can remove any remaining chickpea skins that are still intact if desired, but this is optional.
- Place dried chickpeas on a rimmed baking sheet. add 1 tablespoon oil, Salt and pepper, going around and evenly coating the chickpeas. Bake for 40 minutes.
- Add remaining 1 tablespoon oil, cumin, garlic powder and lemon zest. Continue to bake for 5 minutes, then remove from oven.
- calm.
- Store in a ventilated storage container (such as a kraft paper bag, or a loosely sealed jar) at room temperature for 3-5 days.
air fryer directions
- Drain and rinse the chickpeas. Place on a clean kitchen towel and dry the chickpeas. The skin will start to sag. You can remove any remaining chickpea skins that are still intact if desired, but this is optional.
- Heat the air fryer to 390ºF and spray with avocado oil spray.
- Air fry the chickpeas for 15 minutes, shaking the basket every five minutes, until golden and crisp!
- Add the crunchy chickpeas to a bowl, drizzle with a teaspoon or so of olive oil, and season while hot. Seasoning before cooking can cause spices to scorch (used in ovens and air fryers).
- calm.
- Store in a ventilated storage container (such as a kraft paper bag, or a loosely sealed jar) at room temperature for 3-5 days.
notes
- Read the post for extra tips.
- We have tried several different ways to store them. We have found that the best way to store them is to cool them outside the oven, then after the oven has cooled slightly, place them on a baking sheet in a closed oven overnight. The reason you take them out of the oven and put them back in is that you don’t want to keep cooking them, you just want to put them in a closed oven to dry. This is not required, but a trick we discovered by accident. Otherwise, you can store them in a vented container at room temperature for a few days. This means a kraft paper bag or a loosely sealed storage container. They become more chewy (but still delicious) as they cool. They will soften slightly if you want to keep them in an airtight container.

