

review –Since Captain Kirk took a plate of food from the replicator Star Trek In the ’60s, I think we all dreamed of being able to provide us with everyday items in a timely manner. For some, that means 3D printing.how many people here 3D printers reviewed It’s been years, so recently, when my queue was low and the Minda Magician X 3D printer came along, I decided to give it a shot! What did I find? Well, this is definitely not a replicator for Enterprise! This is not instantaneous. However, with very little work, I was able to turn a roll of plastic into various physical parts, and may have developed a new hobby. Let’s go on this journey together, shall we?
What is it?
The Mingda Magician X 3D Printer is a basic 3D extrusion printer with SD card or USB input.
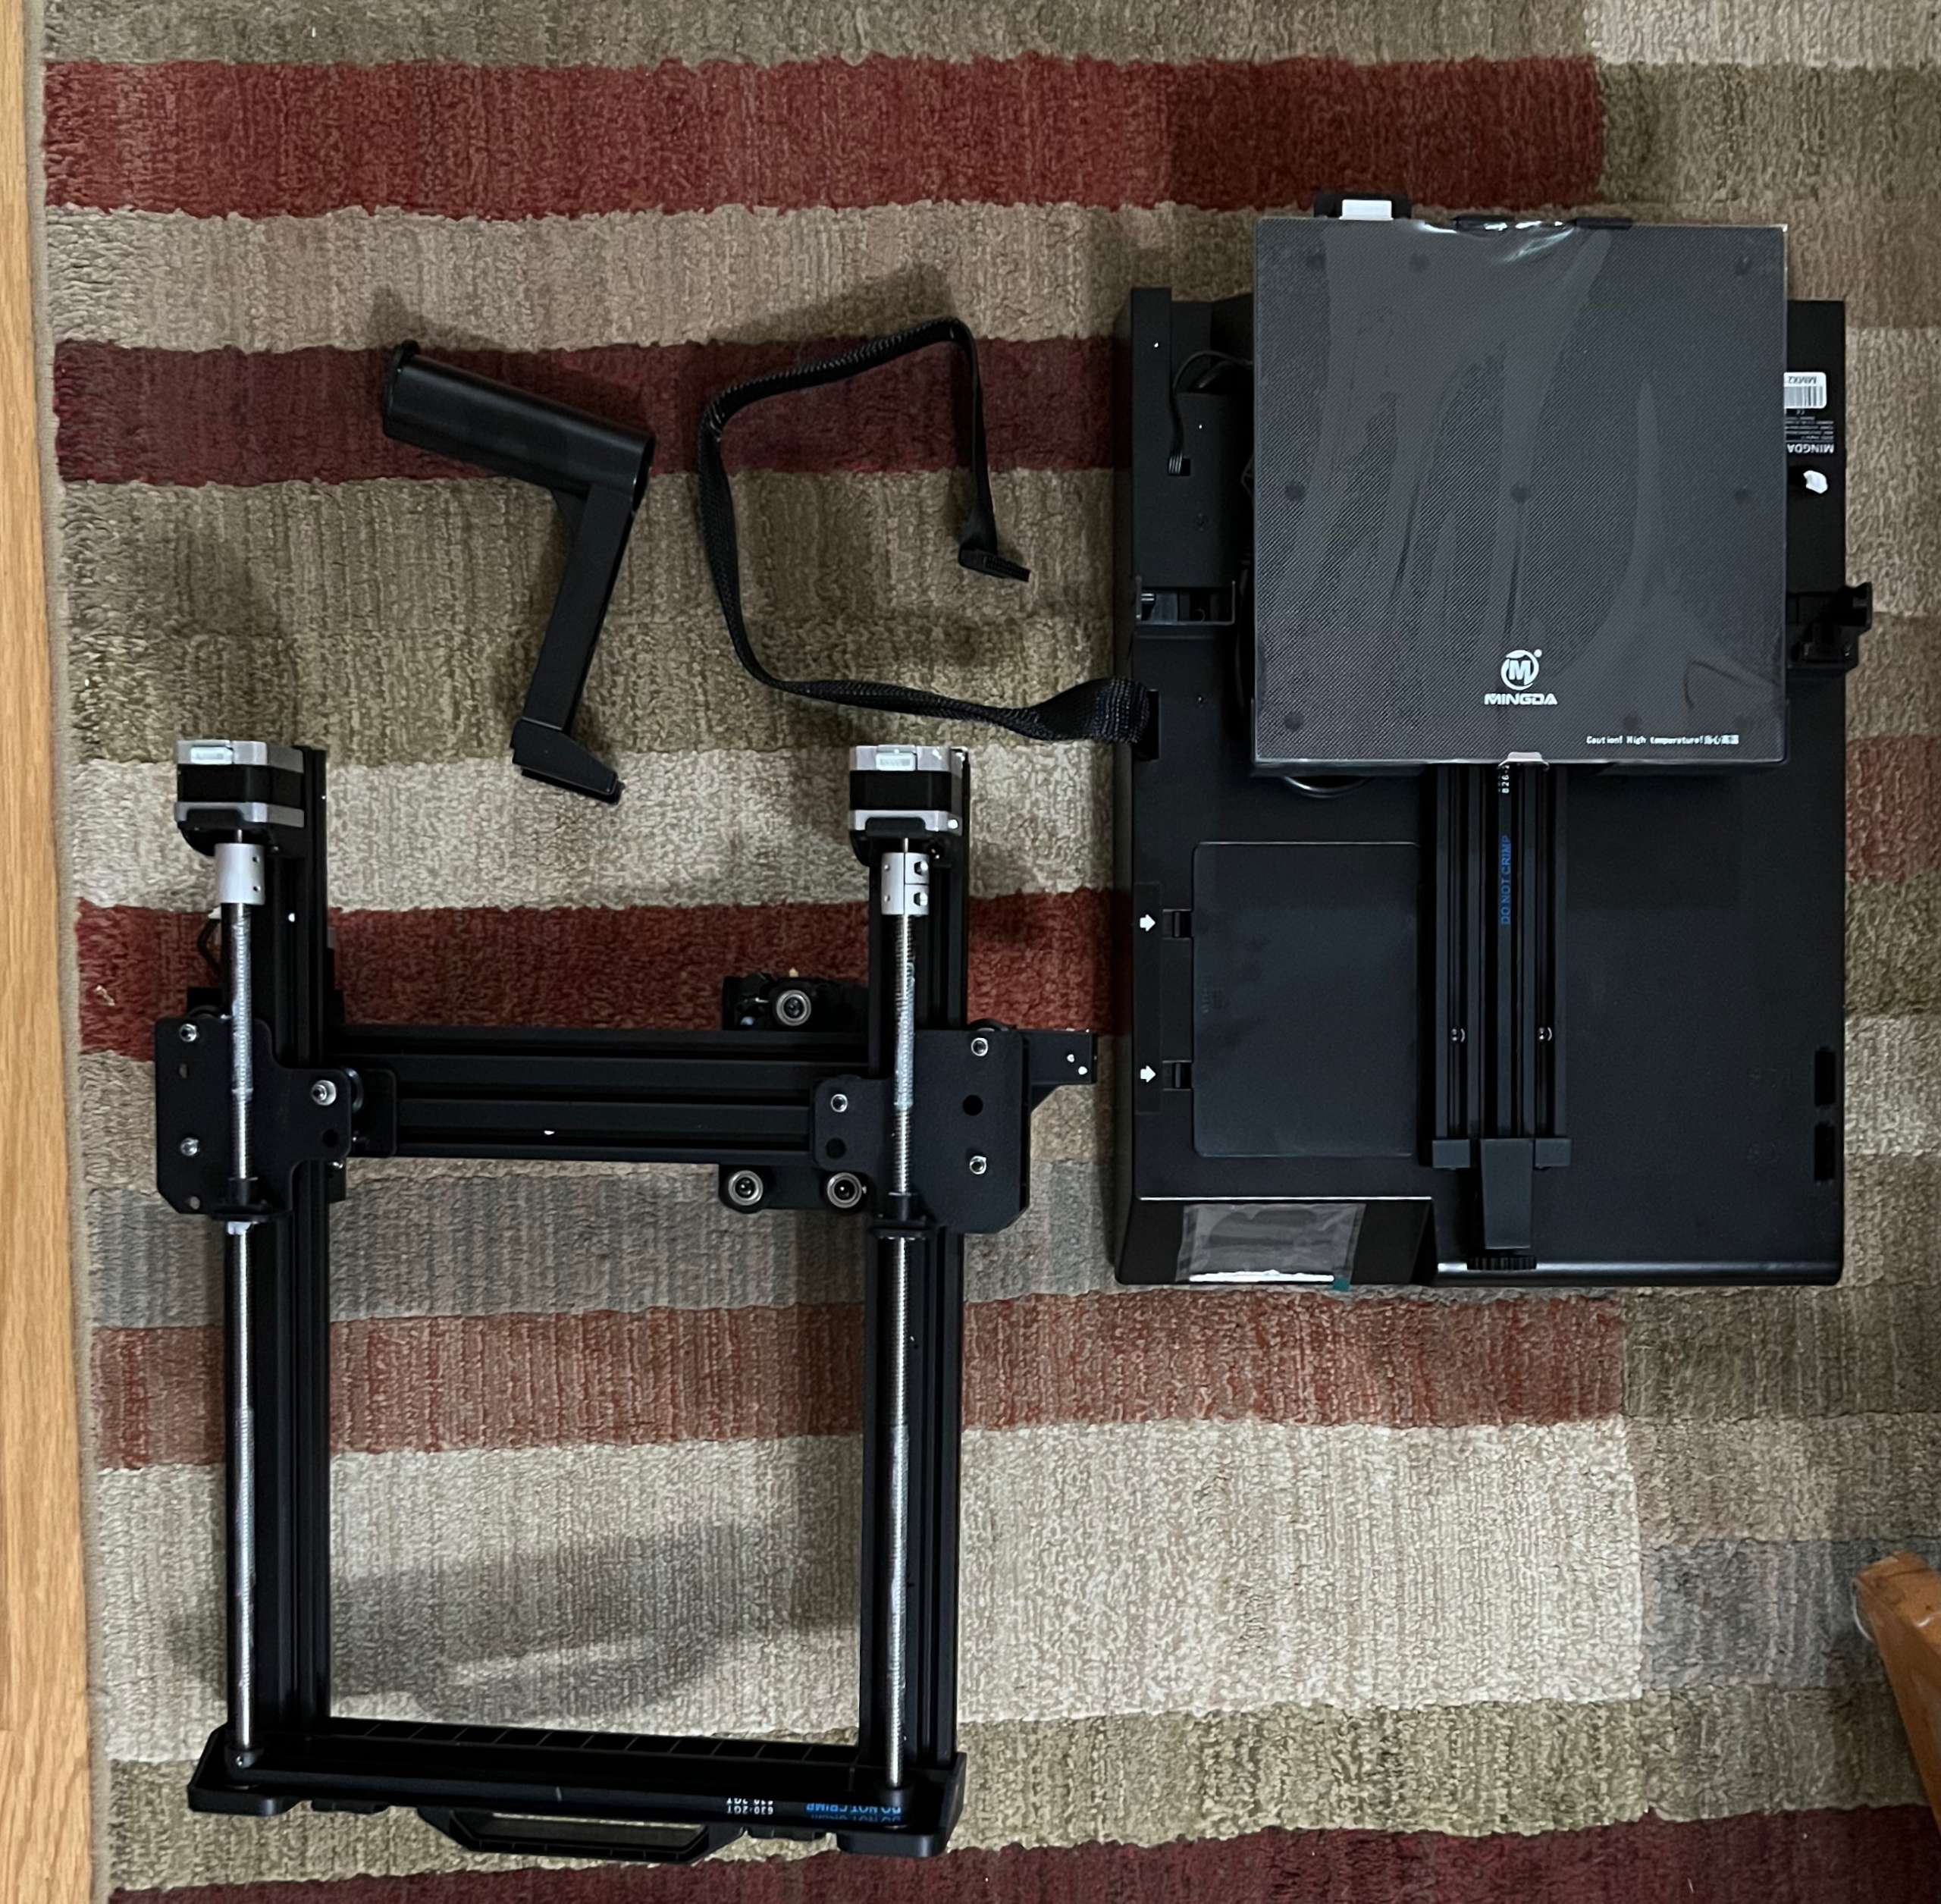

What’s in the box?
- Gantry
- Main Frame
- Filament coil
- power cable
- wrench
- Allen key
- Toolbox cover
- SD card
- Spare Nozzle
- Various assembly bolts
- Teflon tube
Hardware Specifications
- Printing Technology: FDM (Fused Deposition Modeling)
- Build volume: 230(L)*230(W)*260(H)mm
- Printing Resolution: ±0.1mm
- Positioning accuracy: X/Y 0.0125mm, Z 0.002mm
- Number of nozzles: single
- Nozzle diameter: 0.4mm
- Printing speed: <200mm/s (60 – 80mm/s recommended)
- Support wire: PLA, TPU, ABS, PETG
- Slicing software: Cura
- Input formats: .STL, .OBJ, .AMF
- Output format: GCODE
- Connection method: SD card, U disk, USB-C
- Input voltage: 100/240 V AC, 50/60 Hz
- Output voltage: 24V (350W)
- Working ambient temperature: 5℃ – 40℃
- Working nozzle temperature: up to ≤260℃
- Working hot bed temperature: maximum ≤110℃
- Machine size: 460mm*415mm*546mm
- Machine weight: ~7.4kg
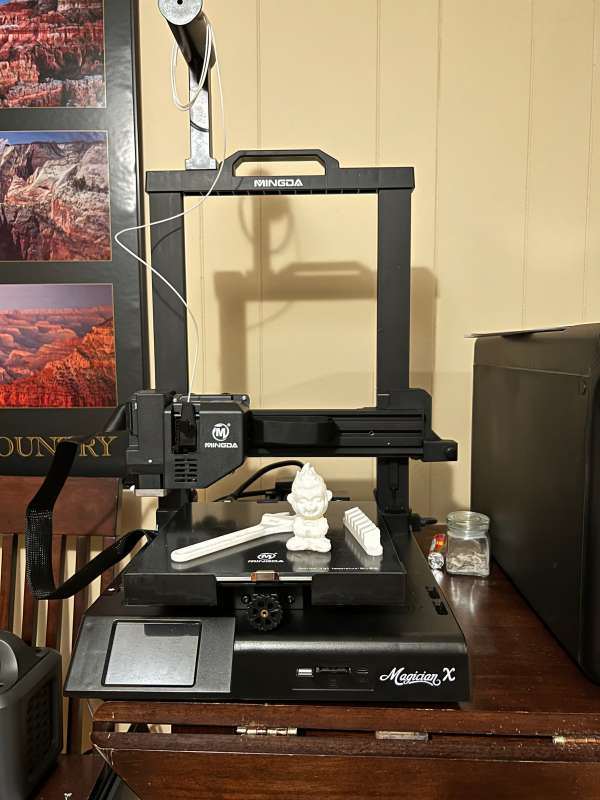
Design and Features
The Mingda Magician X 3D printer is designed to be the standard for consumer 3D printers. There is a base with a gantry (basically a movable lift or riser) mounted on it, and the print head is attached to a lateral movement mechanism. When the final product is extruded, the heated bed moves vertically to the travel of the print head, and the gantry has a screw mechanism that slowly lifts the print head as each layer is completed. Material for extrusion is fed from a reel attached to the top of the frame into the top of the printhead and through heated nozzles. Conceptually, it’s not a complicated process, but the combination of temperature, material and layer height settings, and other variables in the slicing software and printer controls can be overwhelming. For the recommended Cuda software I downloaded for slicing 3D objects, and the printer settings provided through Mingda’s Magician X, there are some reasonable recommended settings that “just work” in most cases. When I got this unit, I knew nothing about 3D modeling, slicing or printing. I put it together, followed the instructions to start printing the first example file, and when it started printing with no effort at all, I thought “Hmmm. This might be fun. What else can I do?” But I was getting ahead of myself.
set up
a little early health kit vibe still uses 3D printers. Because there are so many moving parts that it’s nearly impossible to transport reliably when fully assembled, your first priority is to assemble the Minda Magician X 3D Printer itself. Fear not, however, as the brilliantly illustrated guide will help you every step of the way.
Once out of the box, you’ll need to install the gantry into the main frame and bolt it on from below. This is a simple but tedious task because you want to align the bolt with the threaded port very accurately. Once it’s in place and straight, bolt each gantry leg to the base on the outside. There are four different data plugs that need to be protected. By far the trickiest is the heated bed line. It has a flexible shroud around the plug, so it takes a minute to screw in the screw because you can’t see inside the hole after putting the bolt in. But you’re a gadget – I have faith in you!
Plug in the power cord and follow the leveling steps shown in the manual. Warm up the bed and nozzle (simple pictogram menu will guide you through each step!), then load your code file and you’re ready to play. Well, kind of. The first file I printed took 3 hours and 15 minutes!
This is the curse of 3D printing at the moment – the material is extruded in real time and it takes a while to get results. And, sadly, sometimes the results are ruined by something simple, and you’re not only wasting time, you’re wasting some raw materials. (Maybe at some point we’ll reach the level of Neil Stephenson’s public affairs compiler diamond age You can put your old “stuff” in and the machine will recycle your junk under the microscope, returning those atoms to you as new items! )
In the Diamond Age… “Major cities have… public affairs compilers [that] Basic food, blankets and water are provided free of charge to anyone who asks. “
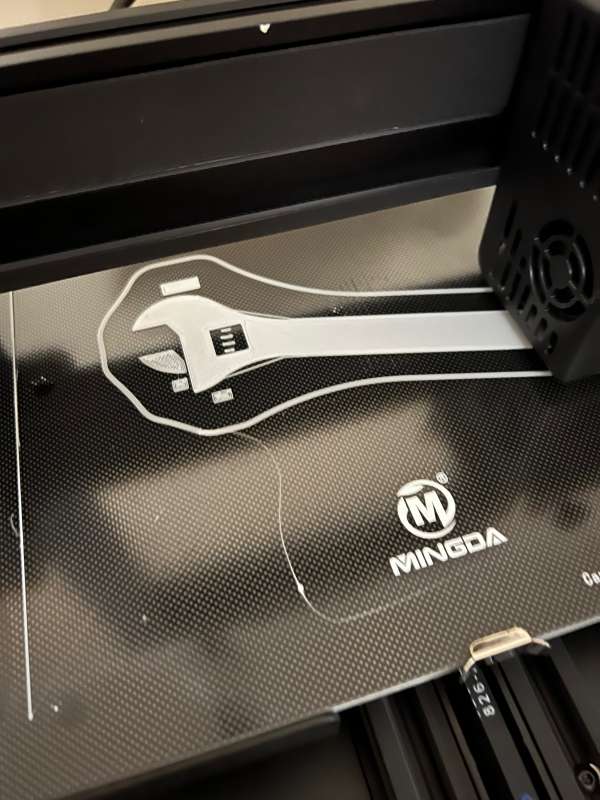
Performance
As of this writing, I have printed three files: a sample file included on the SD card and two object files that I downloaded and ran through the Cura slicer on my Mac. All printed without issue, but I didn’t get the second bed to warm up enough. (I think. Here are my first two photos, so I’m still learning how to adjust for mistakes!)
The Mingda Magician X 3D printer itself matches your setup perfectly. Minda’s presence in the community is enough that print drivers are included in several 3D object viewing programs and sites I visit, so that’s a bit of a consolation.This particular model is not available UltiMaker Kura, this is the slicer I use (free download from UltiMaker’s website), however, one of the other Mingda drivers works just fine. Slicing took very little time, I just saved the file to the SD card that came with the printer. When loading files, the firmware filters only acceptable file types. You click on the desired file and it loads and starts printing.
Input of print data can be from SD card file or USB. It’s so simple to put a file on an SD card and load it into the printer that I never really thought about making room next to my computer for the printer to sit and connect directly. Printing or “dicing” your own files directly from pre-made files is very simple.
what do I like
- Easy to assemble, although it looks complicated
- Very clear manual and menu
- Good material supply to start printing
what would i change
final thoughts
3D printing should be ubiquitous by now. Hardware stores will have bays that can print small parts instead of keeping them in stock.Have 3D printing service Available, but it’s not as big as the hype leads us to believe it will (was?) or the local market. Along the way, faster shipping and better batch milling or extrusion from other countries have taken the 3D printer market by storm, but there are still some hobbyists who are still holding out hope. Gadgeteer has several. And now, I am one of them!
The Mingda Magician X 3D printer isn’t a whim, but its pricing range is enough for a serious enthusiast, and if you want to go through an online store. I never felt overburdened, even the Minda Magician X 3D Printer felt a little overloaded.
price: $349.00, currently on sale for $329.00
where to buy: company Online store
source: This product sample is provided by Minda.

