

review – I’ve recently started making stuff and have had a lot of fun Artillery Sidewinder 3D Printer. I’ve always wanted to increase my options and I’m glad I tried Creality’s CR-Laser Falcon engraver. This thing is fun, but it’s not a toy. Read on, Gadgeteer friends!
what is it?
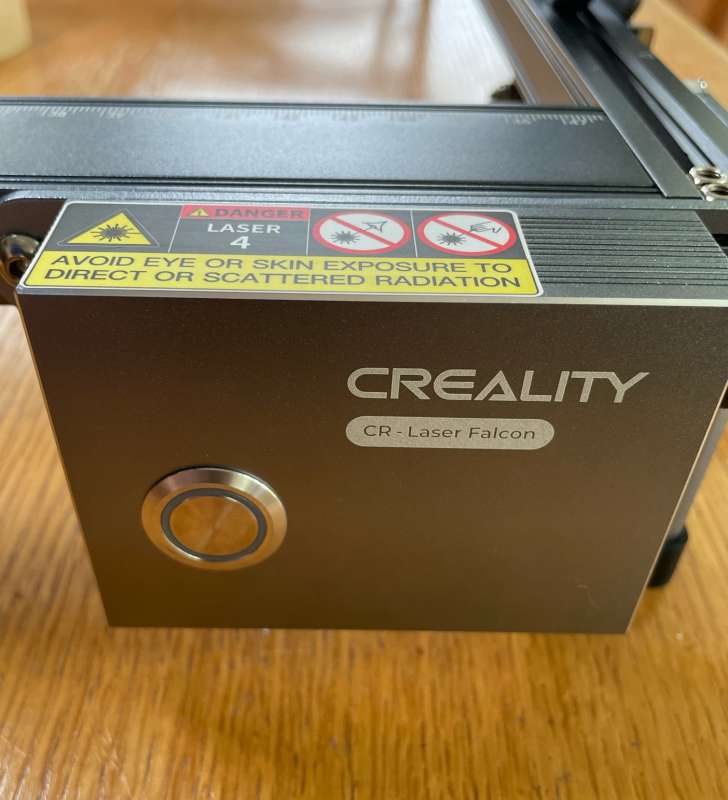
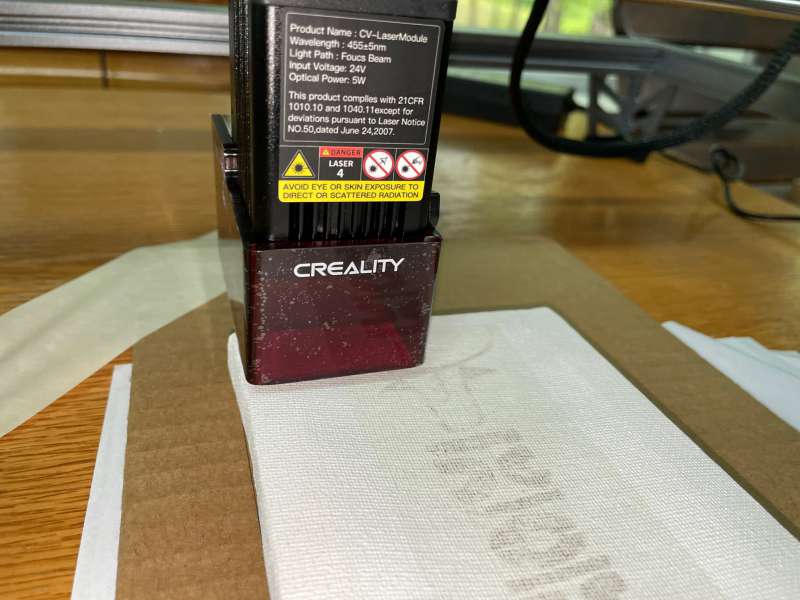
The Creality CR-Laser Falcon engraver is a 5 watt solid state laser controlled by a motorized XY gantry capable of burning and/or cutting computer generated text and images into/through wood, leather and other surfaces.
Hardware Specifications
- Dimensions: 568 x 632 x 198 mm (22.4 x 24.9 x 7.8 inches)
- Weight: 3.3 kg (7.25 lb)
- Operating System: MacOS, Windows
- Voltage Input: 110-220 Volts, 47-63Hz
- Supply voltage output: 24 VDC, 3.0A
- Safety certification: IEC60825, FDA, CE, ROHS, FCC, UKCA, UL
- Safety Class: FDA – Class 1
- Laser engraving software: LaserGRBK, LightBurn
- Laser source: semiconductor type
- Laser power: 5 watts
- Supporting Materials: Cardboard, Wood, Bamboo, Rubber, Leather, Leather, Fabric, Acrylic, Plastic, etc.
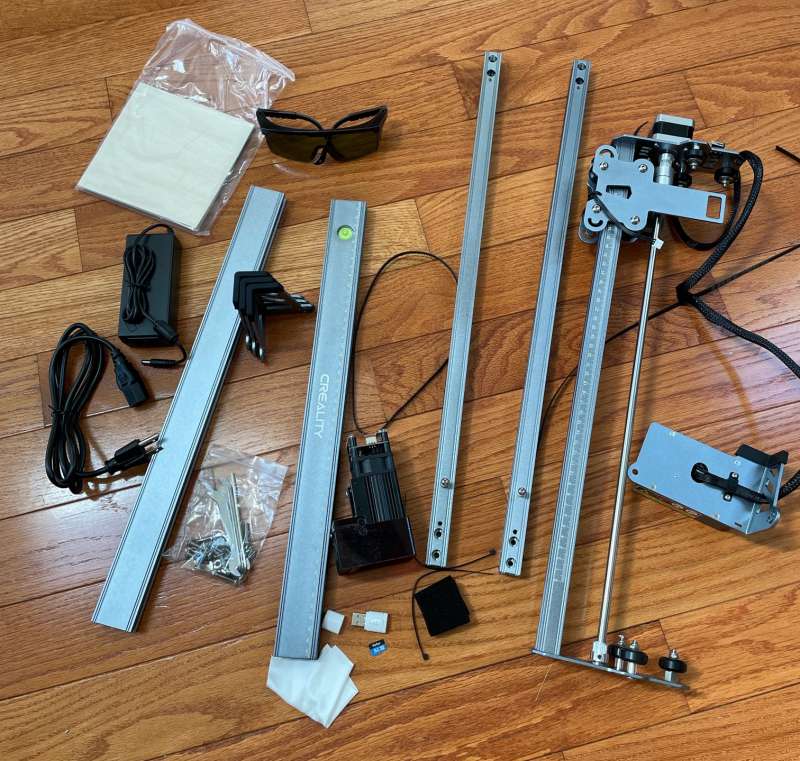
What’s in the box?
- Laser computer control assembly
- Five-watt solid-state laser module
- XY Gantry (requires assembly)
- Assembly screws and hardware
- Gantry support legs
- power supply
- power cable
- Basswood Plywood Sample Materials (2)
- wrench
- T-Nut with grub screw for fixing X-axis belt
- Allen wrench delivery
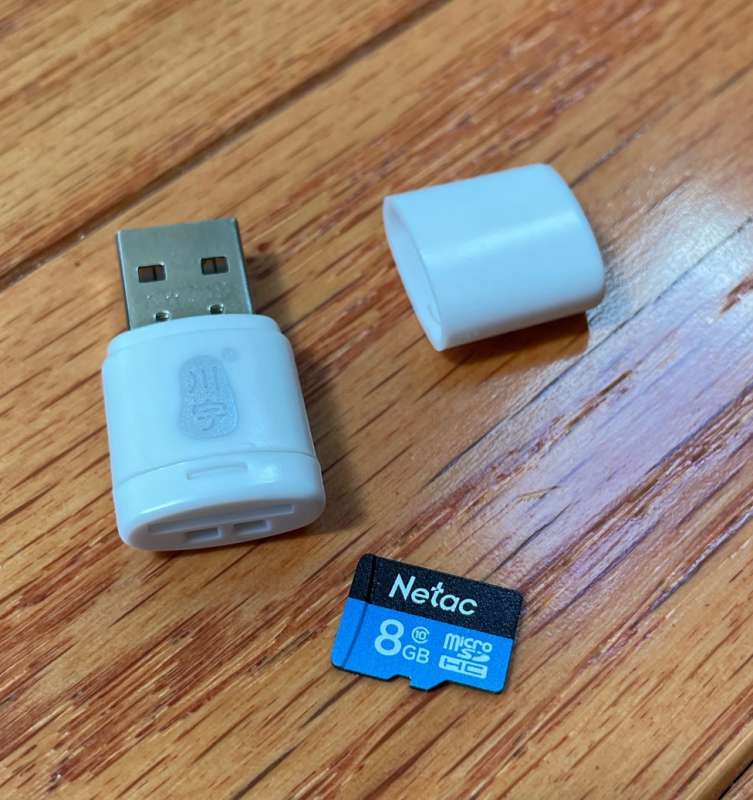
- 8GB TF card and USB card reader
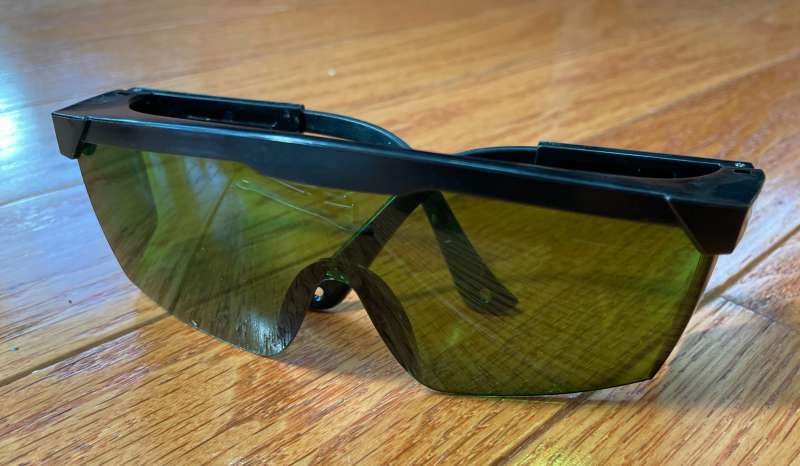
- goggles
- Spare Activated Carbon Smoke Filters (2)
- dust-free cloth
- User Manual
Design and Features
My wife is very talented in sewing, upholstery, pillows, jewelry and all sorts of crafty projects. I? Not so much. I prefer the technical, “fix” type, but I do like making things that work. I’m not gifted enough to sew, paint or build furniture like my other half, but given enough time I can usually figure out how things work and have fun tinkering.
I’ve been looking forward to getting my hands on it Laser engraving machine When I get a chance to see the Creality CR-Laser Falcon, I’d love to see what it can do.
The Laser Falcon is very well padded and the foam is comfortable.
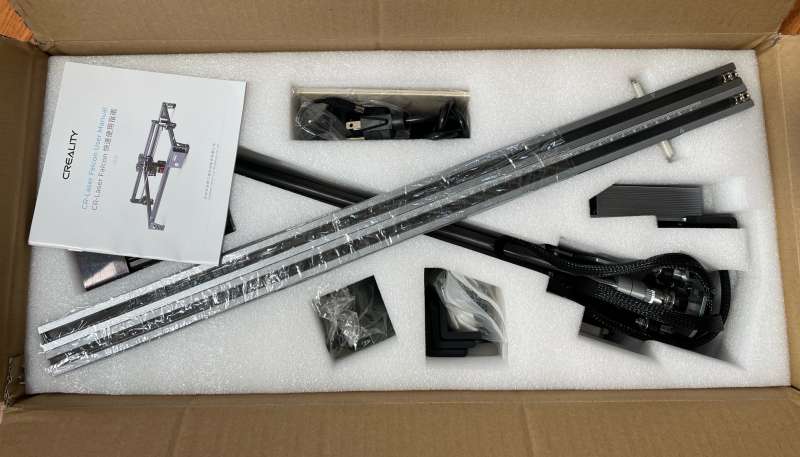
All the parts need to be assembled before the fun starts, which takes about 30 minutes. I was happy to find that all the parts and tools were included.
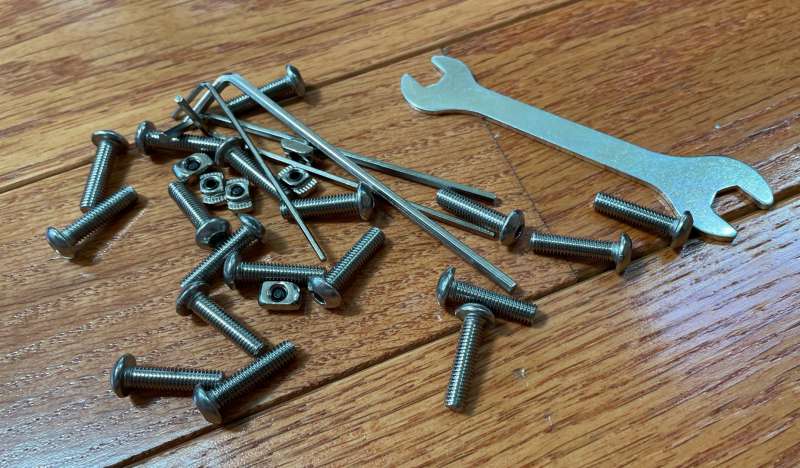
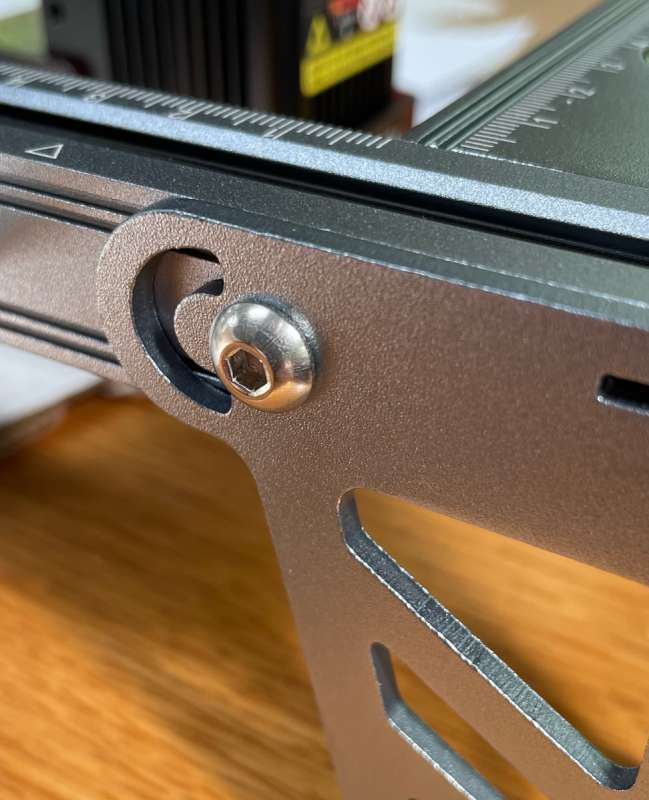
The fit of the bolts is commendable. With the bolts tightened correctly, the frame is not bent or bent.
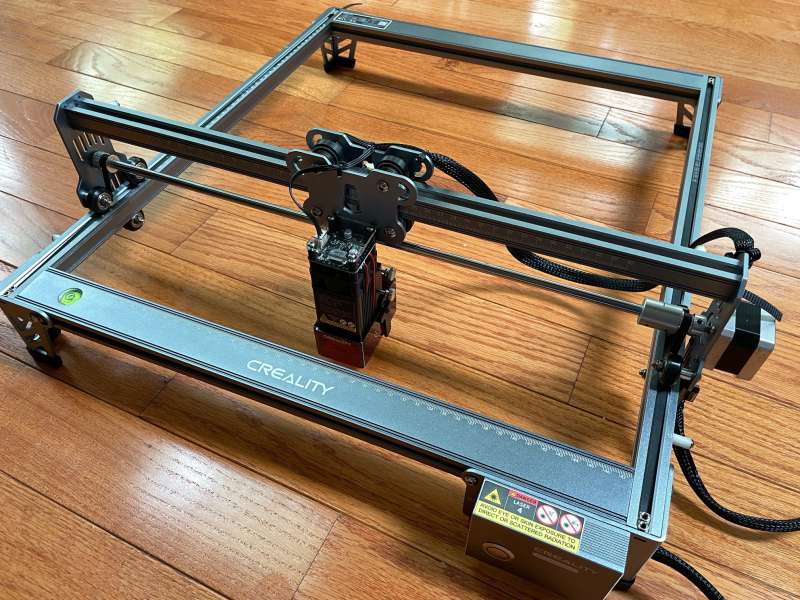
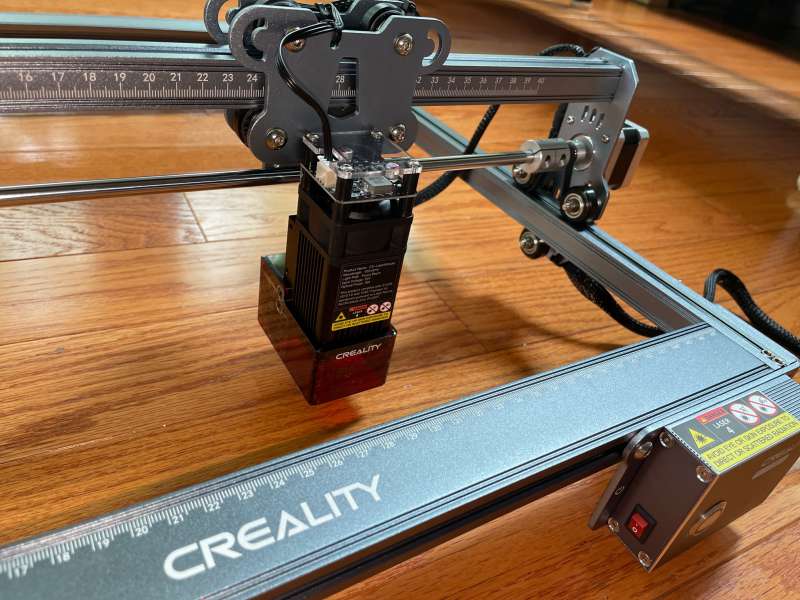
Fully assembled Creality-CR Laser Falcon Engraver. awesome!
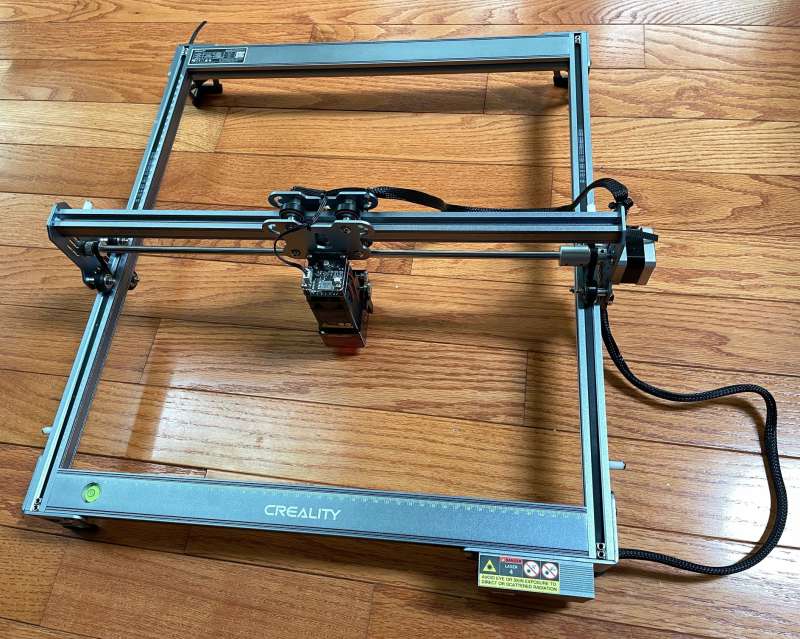
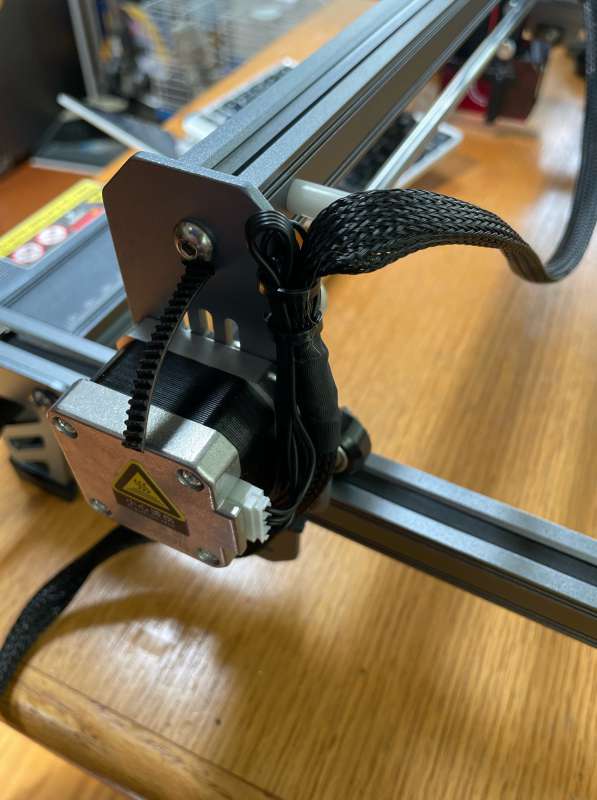
System mechanics, stepper motors and couplings are all exemplary. I double-checked the fit and functionality and found everything to be well-constructed. very good!
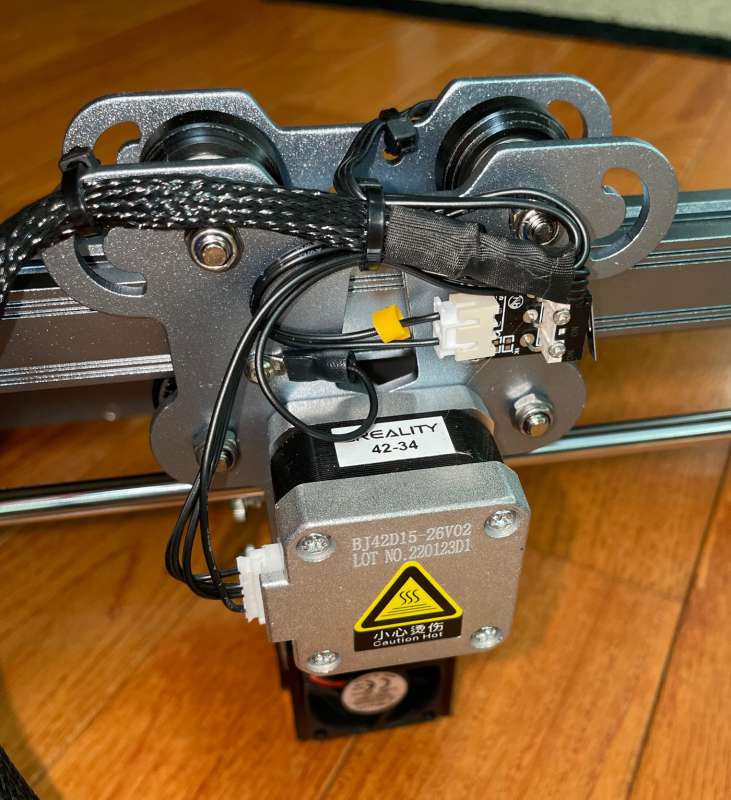
The manual is not clear on the routing of the laser/Y-axis cables, but popping some bolts to correct my mistake is nothing to worry about.
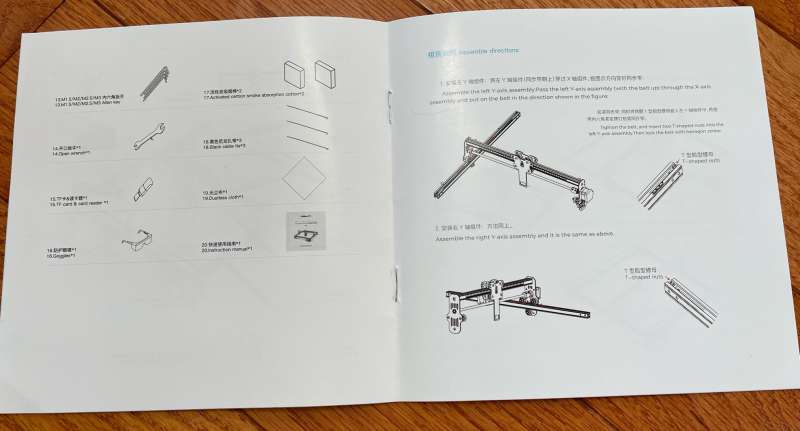
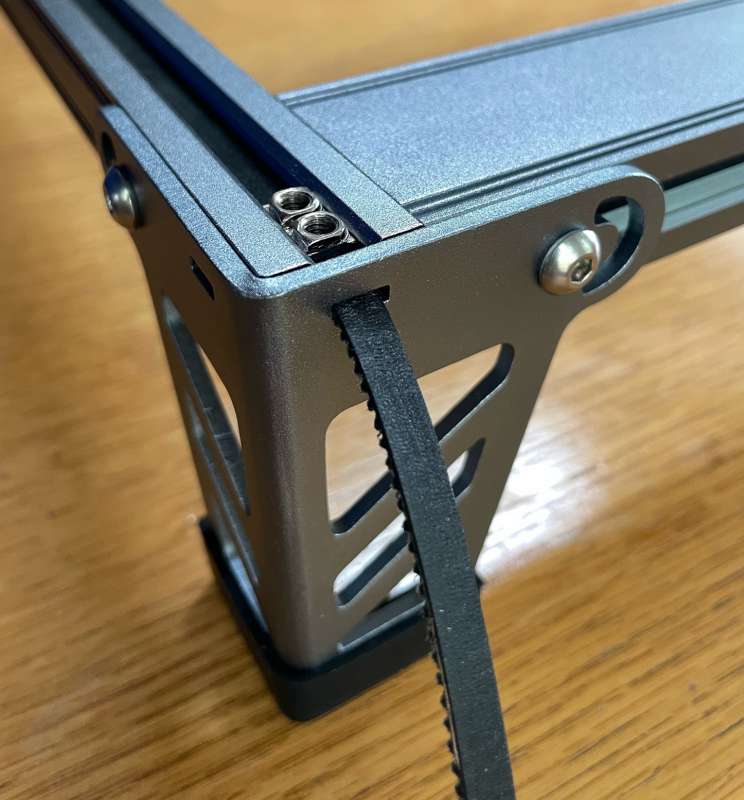
The X-axis conveyor belt passes through the Y-axis gantry bracket…
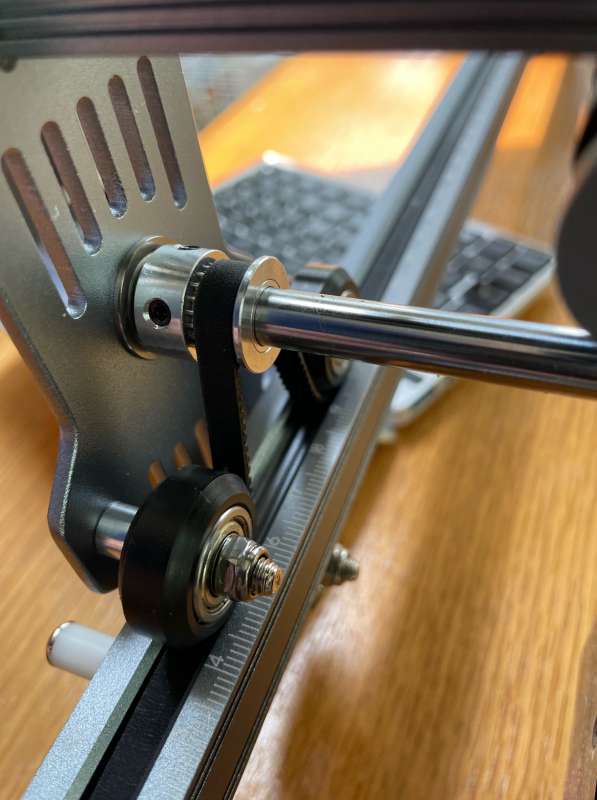
…then use the included T-Nuts to secure it in the rail. The legs have rubber covers to protect the table top from abrasion.
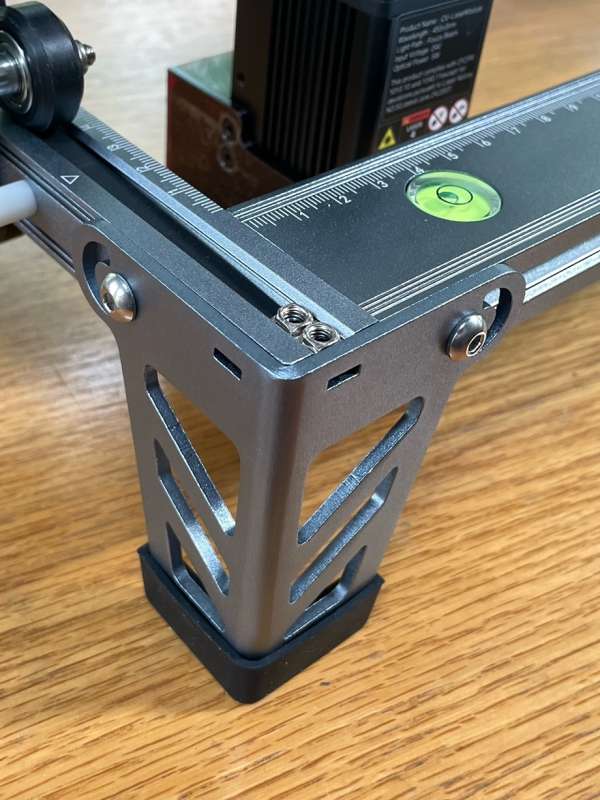
Excess straps go through the support legs
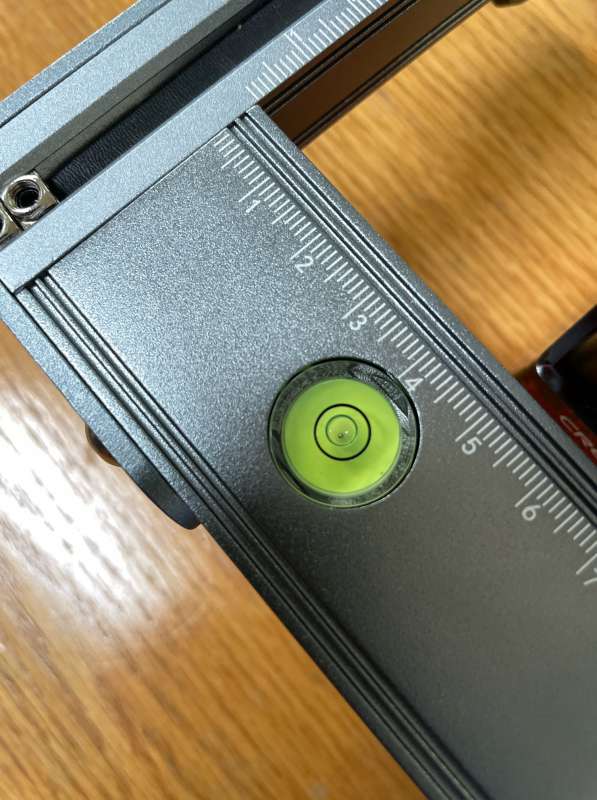
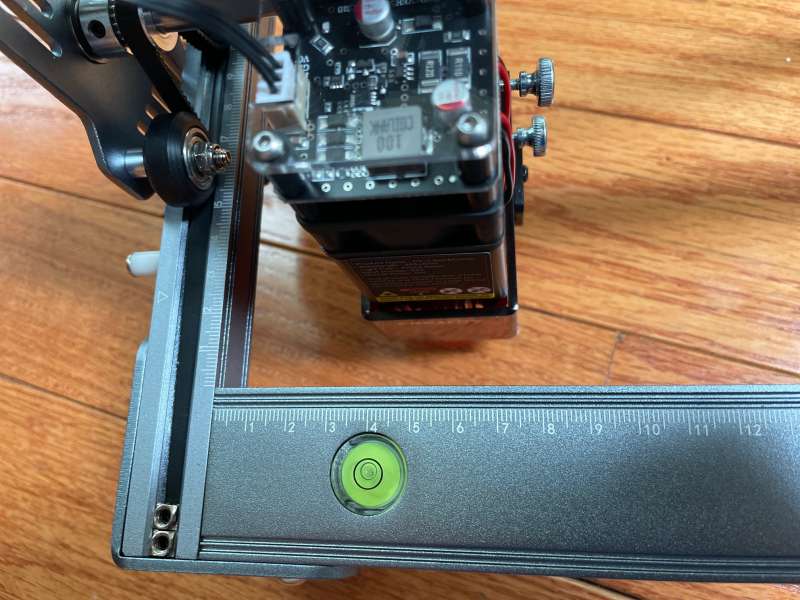
Creality includes a handy bubble level to ensure the gantry will run parallel to the surface it sits on.
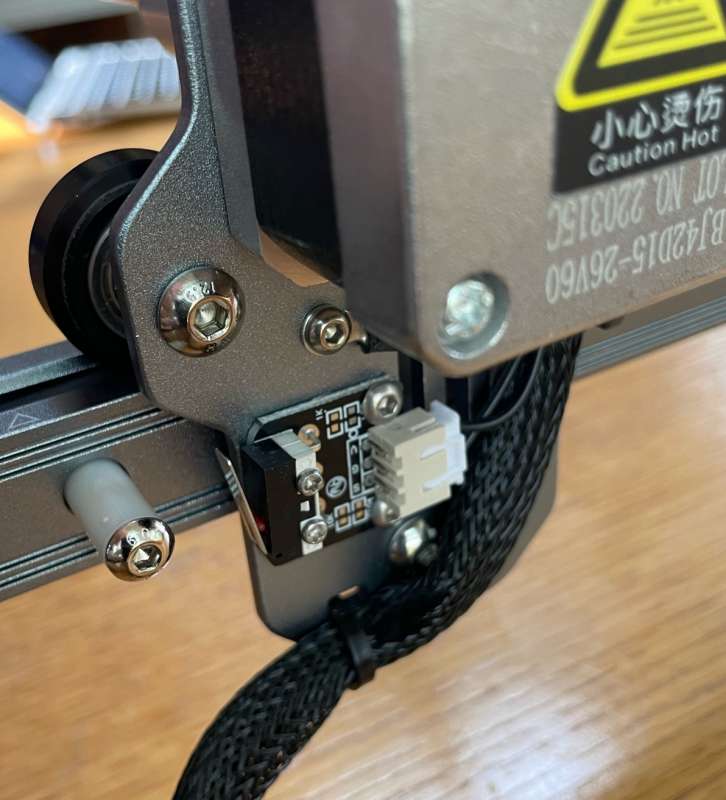
X-axis and Y-axis travel switches are pre-assembled and require no adjustment.
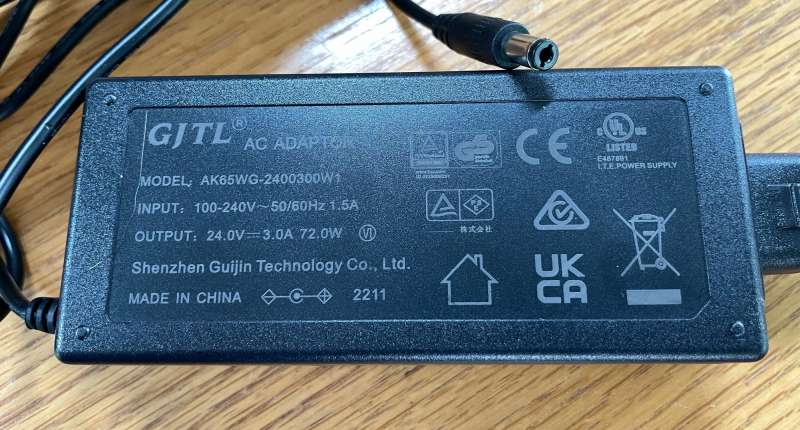
The power supply looks similar to a laptop power brick. The output is 24 volts, 3 amps.
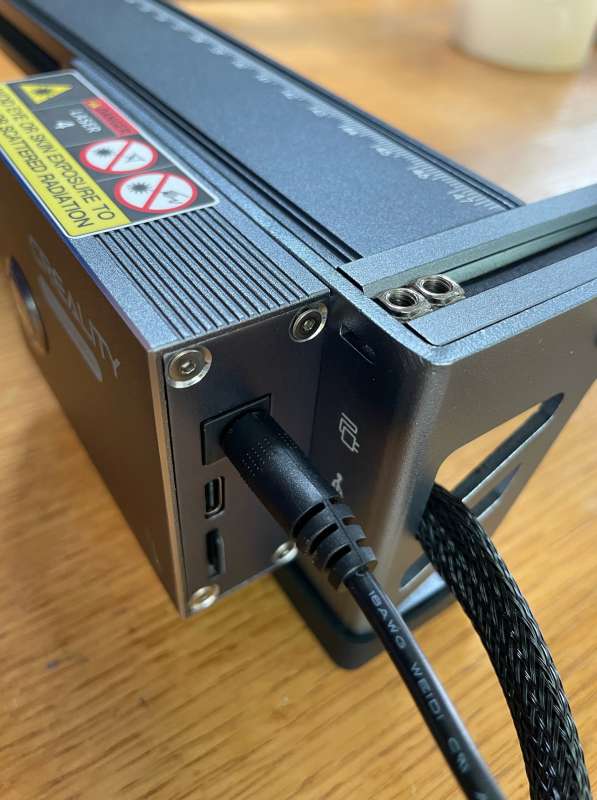
Input power is a barrel connector. On the same side is an SD card slot for loading .gcode files and a USB-C connection for direct control. (More about .gcode files later.)
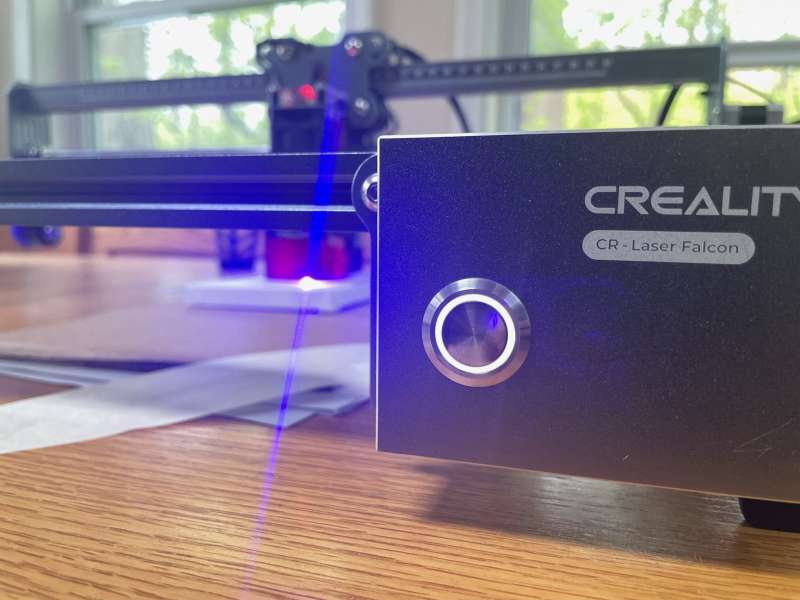
On the other side of the controls is the power switch.
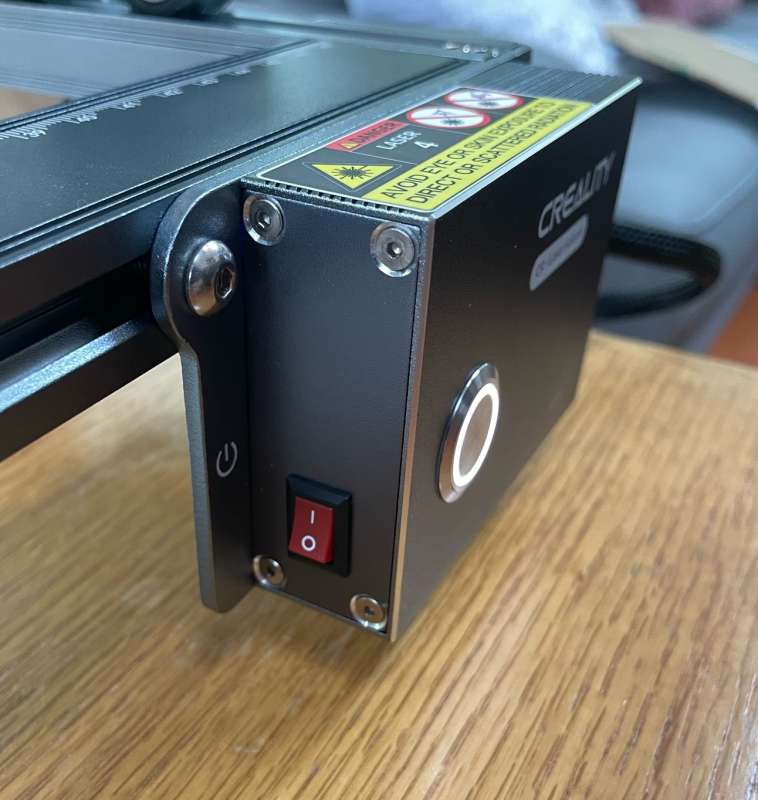
Once everything is ready, a single button puts the gantry into motion.
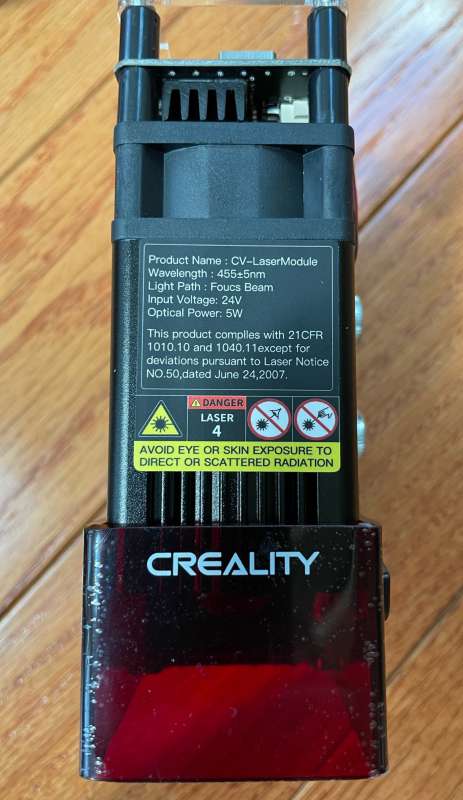
The laser is rated at 5 watts and is attached to the gantry using thumbscrews.
To prepare the laser’s focus, a lever flips down and touches the material surface. Magnets hold the lever in place when not in use.

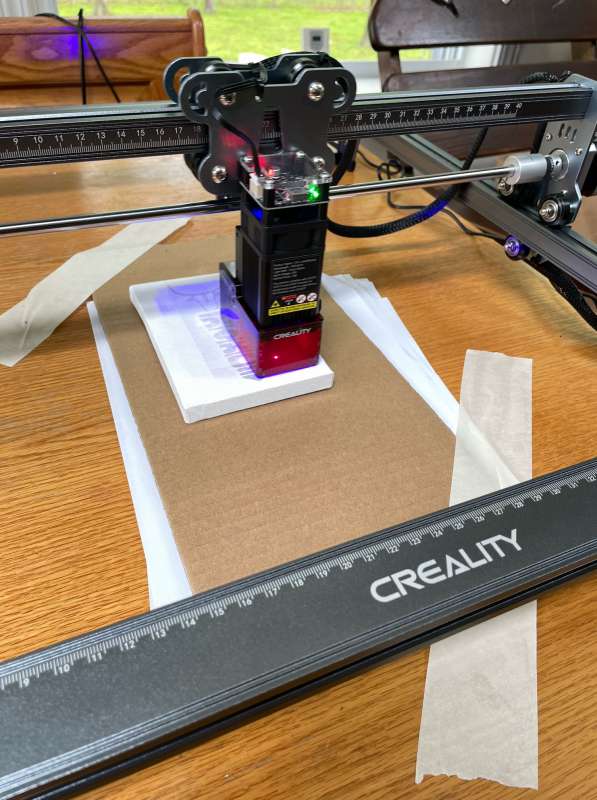
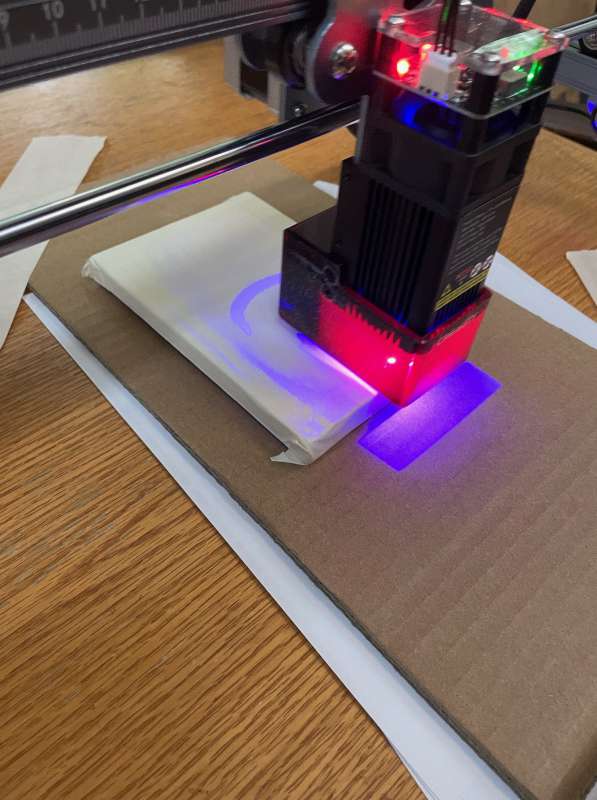
The software used to generate the project files is in a separate folder on the included SD card. The Gcode file can then be loaded onto the card and installed in the engraver. At the touch of a button, the gantry is back in place and the laser is moved horizontally at low output (it won’t burn or cut anything, but the beam spot will be bright enough to see where the image is going), then send the gantry To the perimeter of the perimeter spiral design to allow positioning of the material.
Great caution is required here…
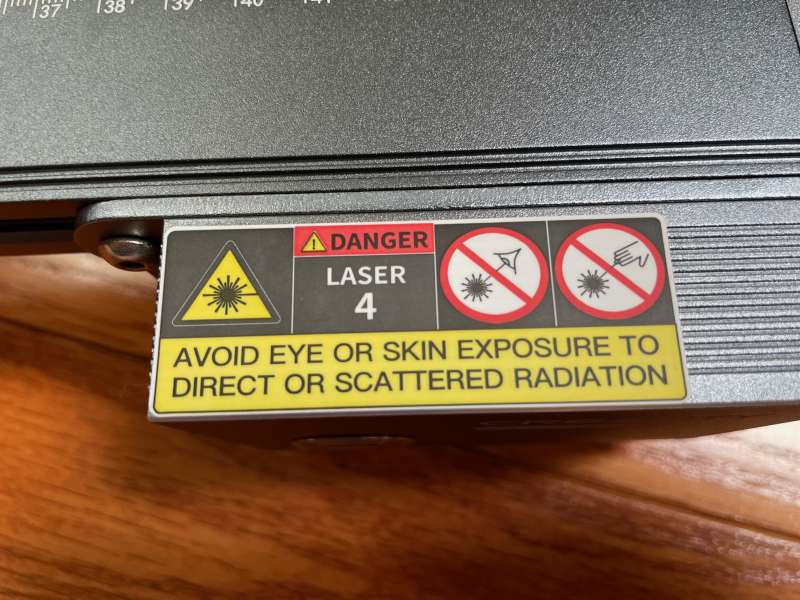
Never expose living beings to the laser beam. It burns meat, cuts holes, and can cause permanent blindness. Never operate the laser separately from the gantry, be sure to follow all safety warnings in the manual, and don’t look under the safety cover for the beam, as even reflections can cause blindness.More safety warnings can be found here. This laser is not a toy and should be treated with the utmost respect. When in doubt, use the included goggles.
A second push of the button will move the gantry and start burning or cutting. Depending on the material, laser power and speed, the laser can burn the contents of the .gcode into the surface of the material, or cut completely through.
Next note: Creality includes a reference for burning and cutting on the included SD card, but this information is only a “rough” estimate. Thickness, color, density, and other factors can increase or decrease the rate at which the laser burns. Extra care is required because with some materials the laser can cut through the material like a hot knife cuts through butter. Always ensure that there is a solid support surface between the material and the workplace. If the parameters are incorrect, you may find that you inadvertently burn the .gcode through the material and into the table. It’s always better to proceed with caution than to hear yourself (or your partner) scream in horror and have to spend days sanding and refinishing your antique table.
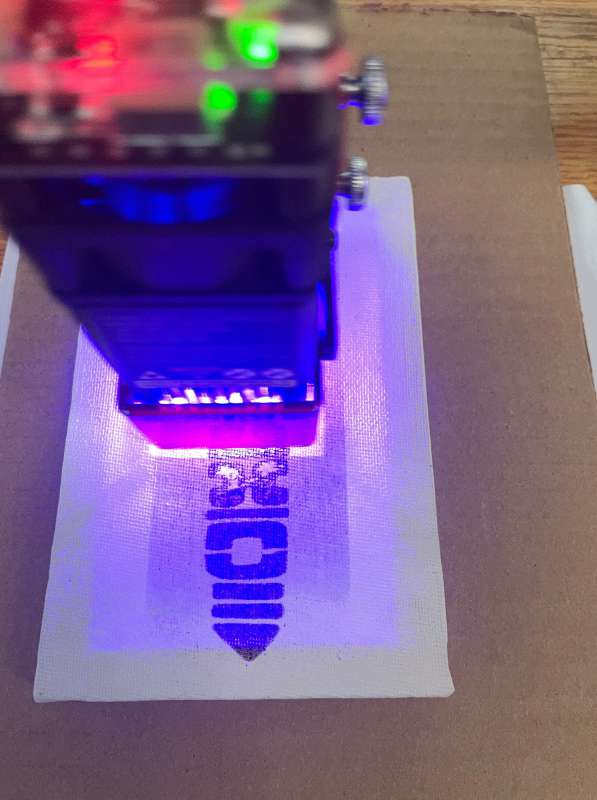
In my case, my first attempt was to cut a small “that’s it” plaque that went through the wood and into the cardboard I was using as a protective layer. I have no doubt that if I had used less backstop material, a little slower speed, or one more pass, the laser falcon would have penetrated the cardboard into my oak table…I need to tell my very patient person Explain my wrong wife. Satire? Yes, it definitely will. Just to be clear, if this happens, it will be my fault, it comes down to inexperience.

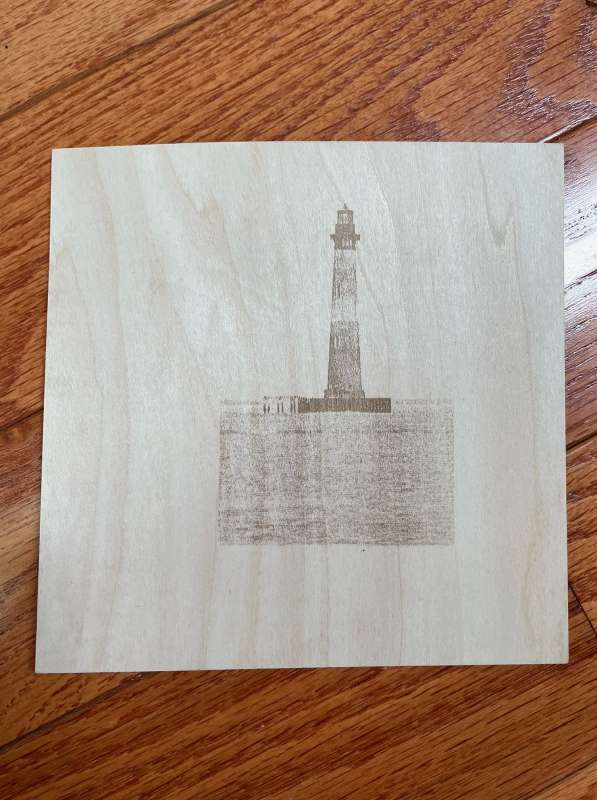
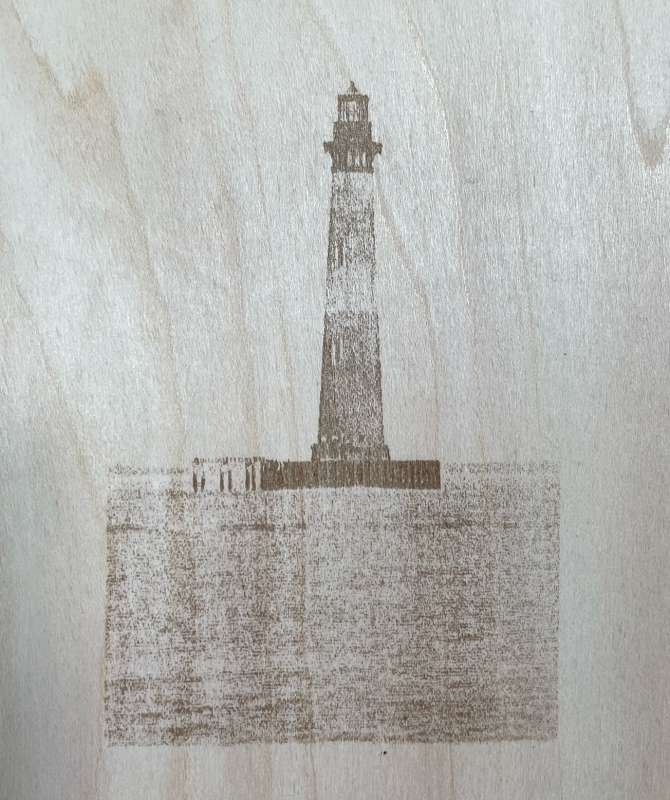
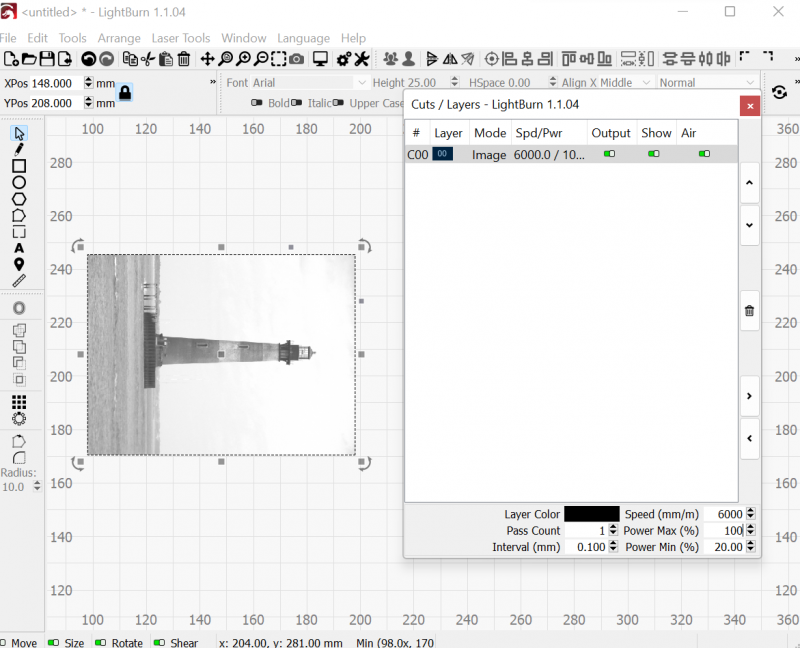
My first photo is of the Morris Island Lighthouse near Folly Beach, South Carolina (the aforementioned plaque is my third test, but I think it’s important to talk about safety first) I’m very happy with the results, especially my ‘s first attempt.
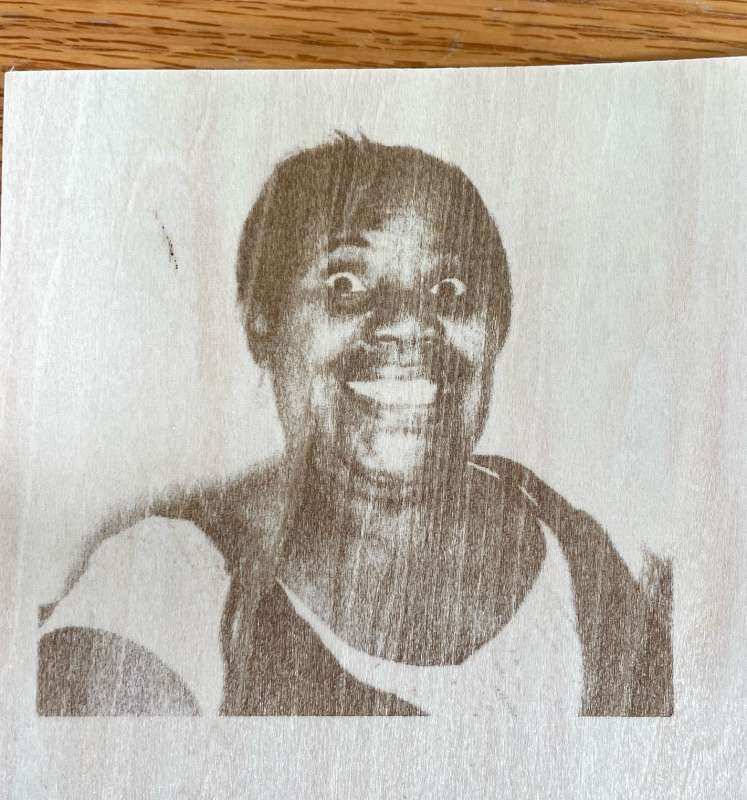
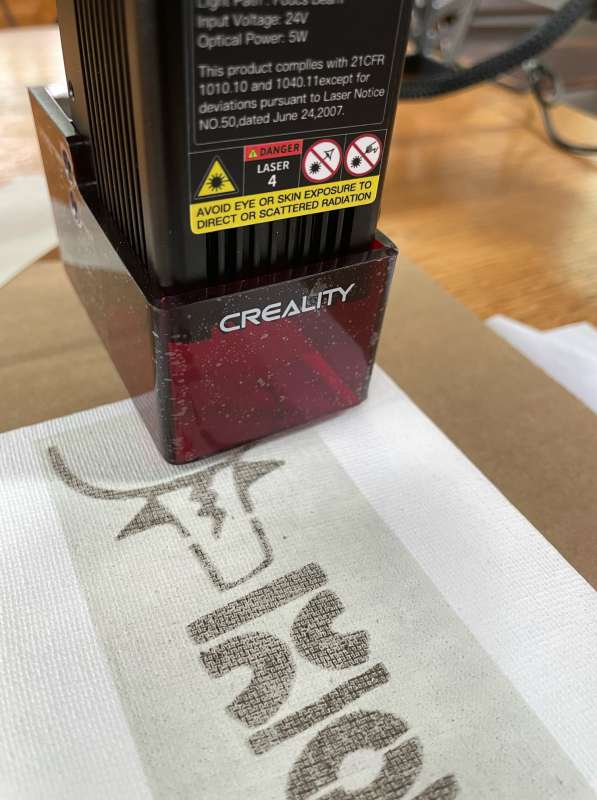
My second test is that my mother-in-law is stupid (I love you, mom!). Aside from the alignment, I’m equally happy with the results.
Despite my best efforts, my first photo was crooked. It would be great to have a gradient (and laser proofing!) surface to help, but I was still able to find some solutions online. There are millimeter markers on the gantry, but I don’t find the “visual” material to be good enough.
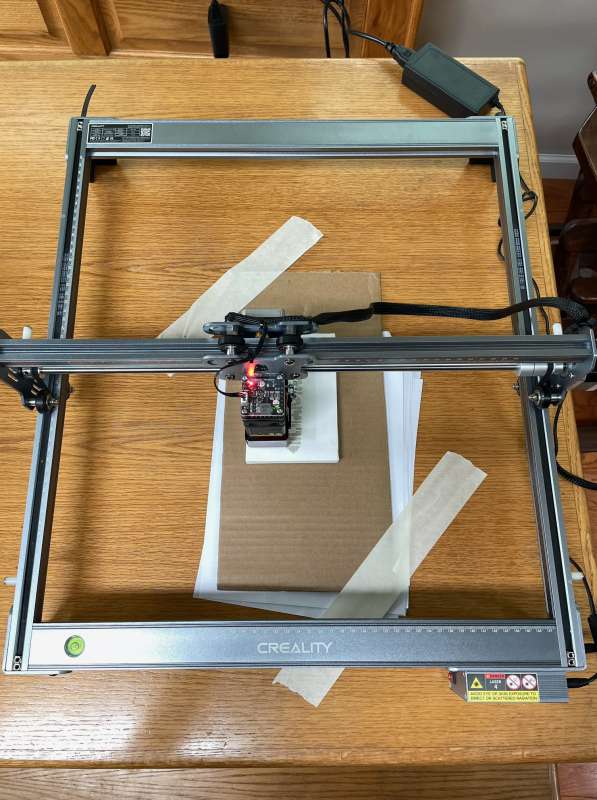
The best solution is to put some scrap (cardboard for my test) under the laser and tape it in place. Next, I created a simple .gcode file using just the outline of the material, loaded it into the SD card, plugged it into the engraver, and burned the scrap. Then I created a second .gcode file with the content inside the outline, loaded the SD card, reset the laser height, and burned again. I used this technique for the “it’s it” plaque I mentioned earlier, (besides almost burning down my desktop 😛) the results were exhilarating! Now we are talking!
It took a few passes to get the image as dark as I wanted.

At this point, you might be asking, “What is a .gcode file?” In short, it’s the code that tells the laser falcon where and how fast to move and when and how much power to supply to the laser. To generate code, Creality recommends using LightBurn and LaserGRBL included on the SD card. To make things even easier, an SD card to USB-A card reader is included. Also includes a manual, an excellent assembly video, and two example files for cutting the included Linden plywood.
After reading some online reviews, I decided to use LightBurn software. The 30-day trial is great for getting started and costs $60.
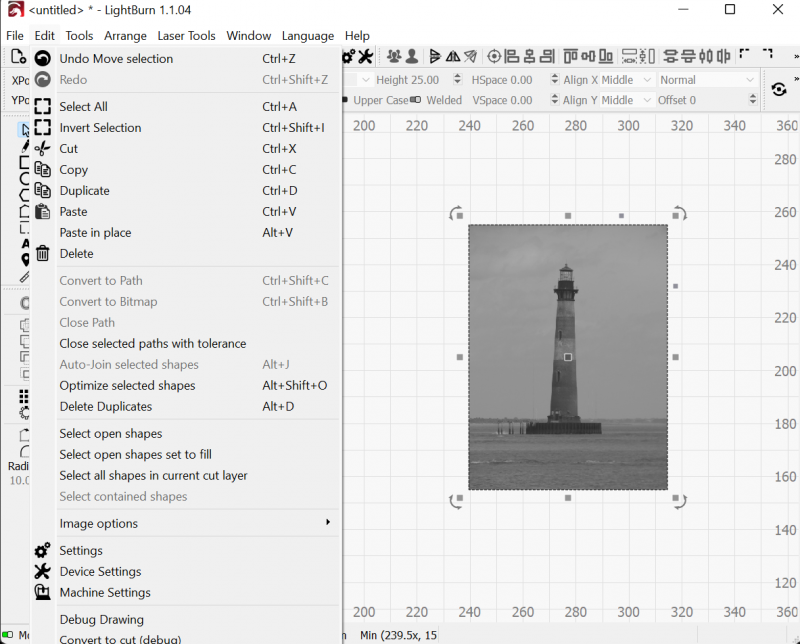
Photos and other images can be imported or created from scratch
The interface takes some practice, but I think many people will find the interface familiar and intuitive.
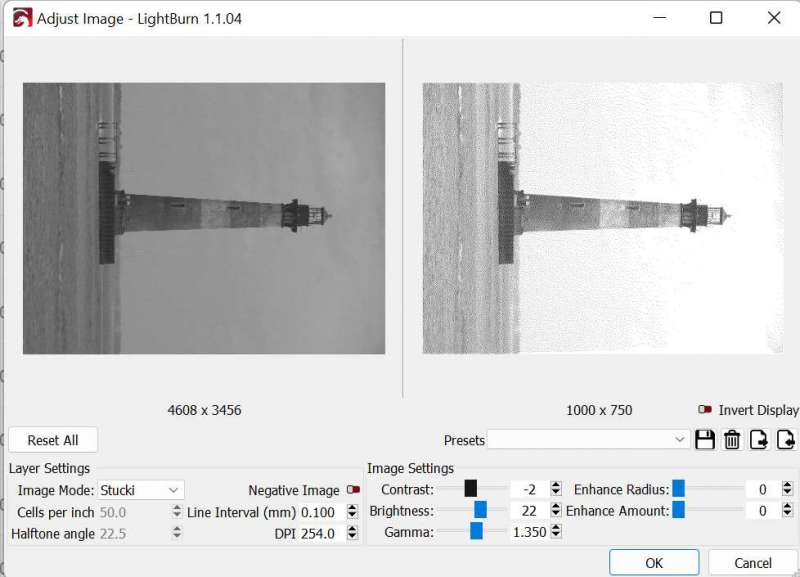
The printer is capable of burning images in several different styles. Some experimentation is required to get a suitable image. When complete, it is saved to the SD card as a .gcode for use on the Laser Falcon. To keep my head straight, I chose to load only one .gcode file on the SD card at a time, as I didn’t want to risk burning my desk again ;-).
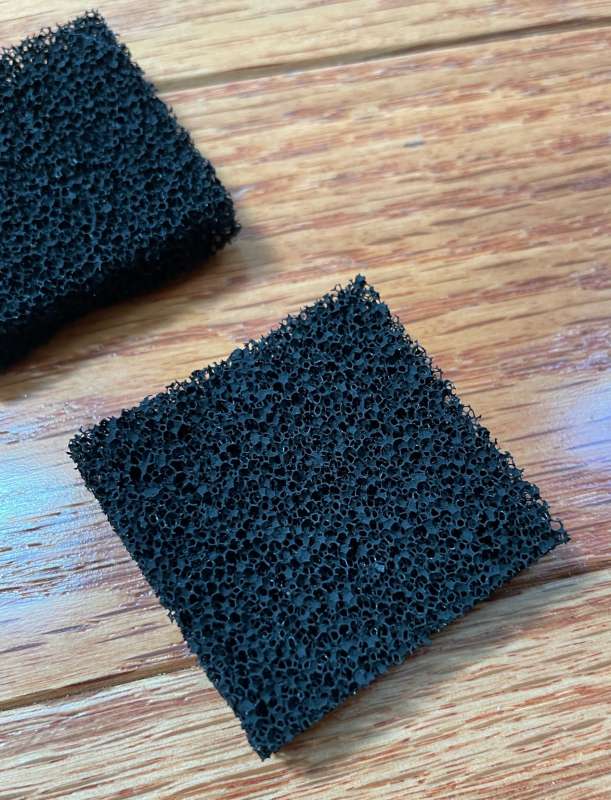
It is worth mentioning that during operation, there will be some smoke, but most of it is absorbed by the activated carbon filter. Reality includes some spare parts.
Thank you, creative! I like this!
what do I like
- easy to assemble
- including tools
- output is great
- Five watts is more than enough for me
- Huge printing area!
what would i change
- Gradient material surface would be a nice touch
- Anti-laser pads would be welcome to keep me from… me 😀
- A full version of LightBurn software would be great!
final thoughts
The Creality CR – Laser Falcon Engraver is quick to assemble, powerful and super fun to use! From box to work, I was away with the laser in less than an hour. It takes more time and practice to become proficient with custom designs, but I look forward to making many useful and whimsical carvings in the coming weeks! I am happy with the build quality and the result! Creality CR-Laser Falcon Engraver is awesome (literally)!
price: $349.00
where to buy (this: Physical store and Amazon
resource: Samples for this review provided by Reality.

