

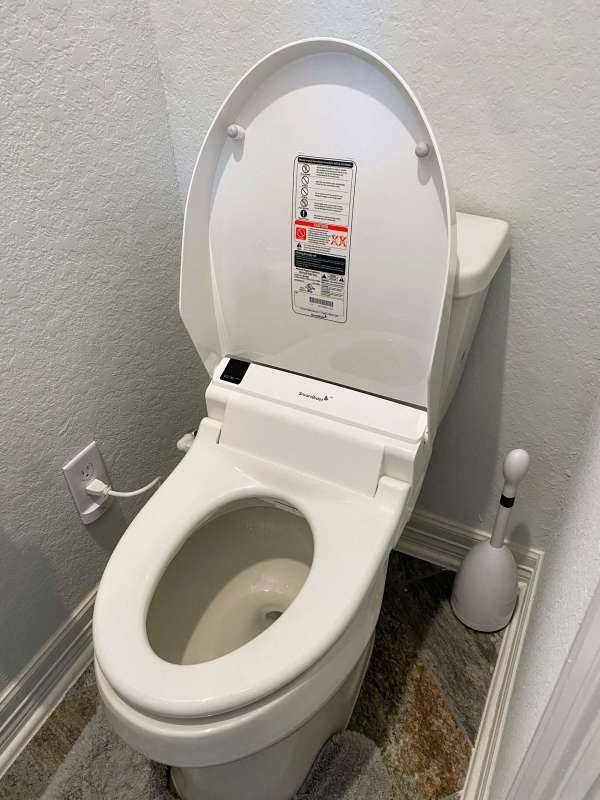
review – When COVID was in full swing and we were locked down, I remember the 2020 toilet paper shortage! Back then I wished we had a bidet so I wouldn’t be so dependent on toilet paper. I also think it will give me a cleaner bottom. Unfortunately, the house we lived in at the time did not have any toilet sockets installed. I really want a bidet that can provide warm water. Even though we live in South Texas, the water temperatures in our aquifers can be very cold. When we built our new house a year ago, I purposely added an electrical outlet to our master bathroom toilet to accommodate a future bidet. When the SmartBidet SB-3000 bidet came up for review, I embraced it. Let’s see if my dream of a paperless hygiene future comes true.
What is it?
The SmartBidet SB-3000 bidet is a plug-in bidet that offers a lot of functionality. It has warm water, heated seats, multiple face wash modes, feminine face wash and air dry mode.
What’s in the box?
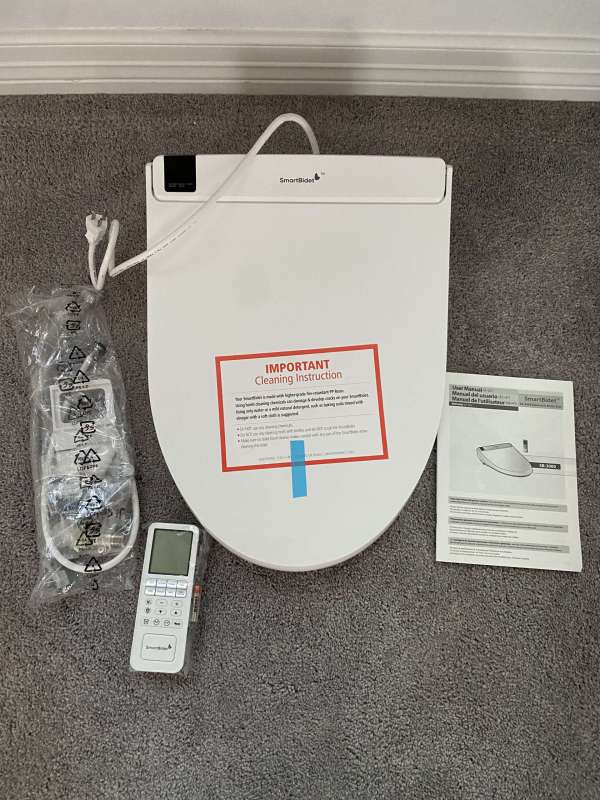
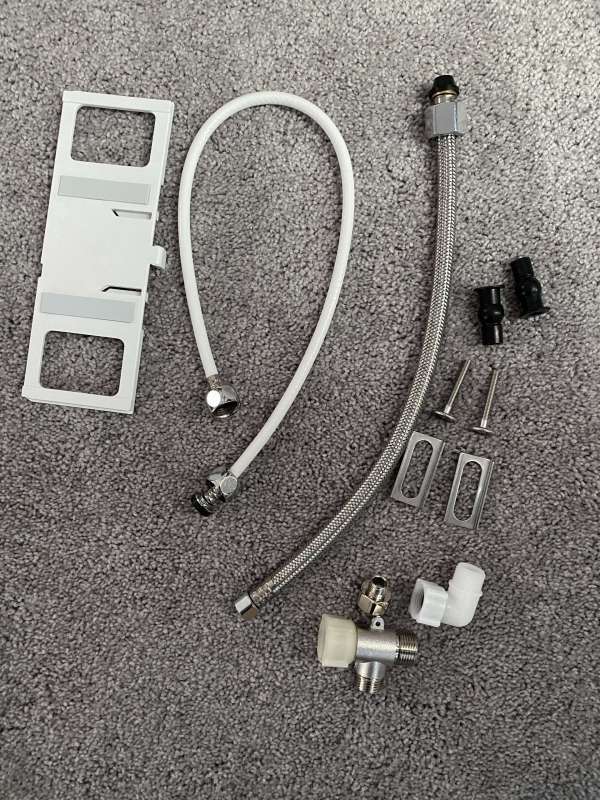
- The installation kit shown in the second picture
- seat bracket
- Hose from water hose to bidet
- water pipe from wall to toilet
- Splitter for connecting water hose to bidet hose
- Plastic mounting clip for attaching bidet hose to bidet
- stand hardware
- Remote control attached to wall bracket
- toilet seat
- User Manual
Hardware Specifications
- Weight Capacity: 330 lbs
- Power Cord Length: 3’10”
- Seat Thickness: 1.3″
- Power supply: 120V/60Hz/1400W
- Product Dimensions: 15.4″ x 20.9″ x 6.3″
- Amps: 11.7
- Seat hole size: 7.9″ x 11.5″
- Product Weight: 10.3 lbs
- white only
Design and Features
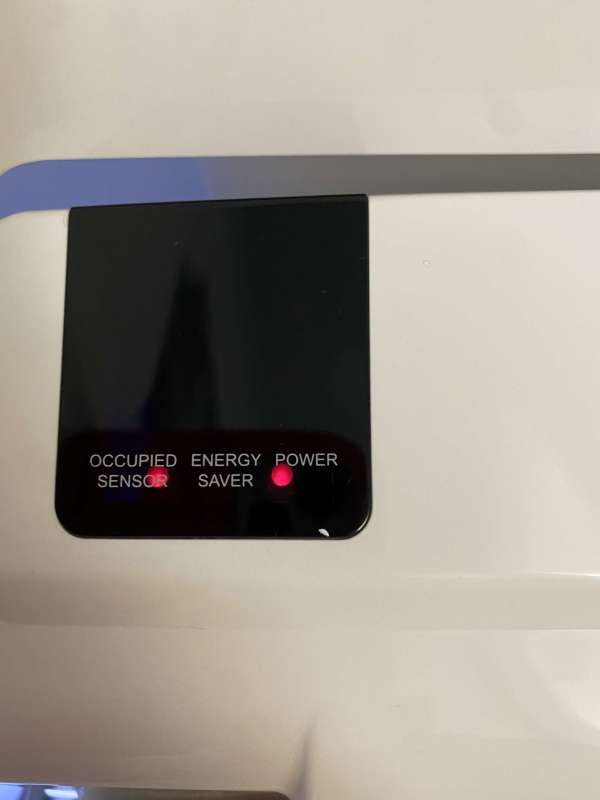
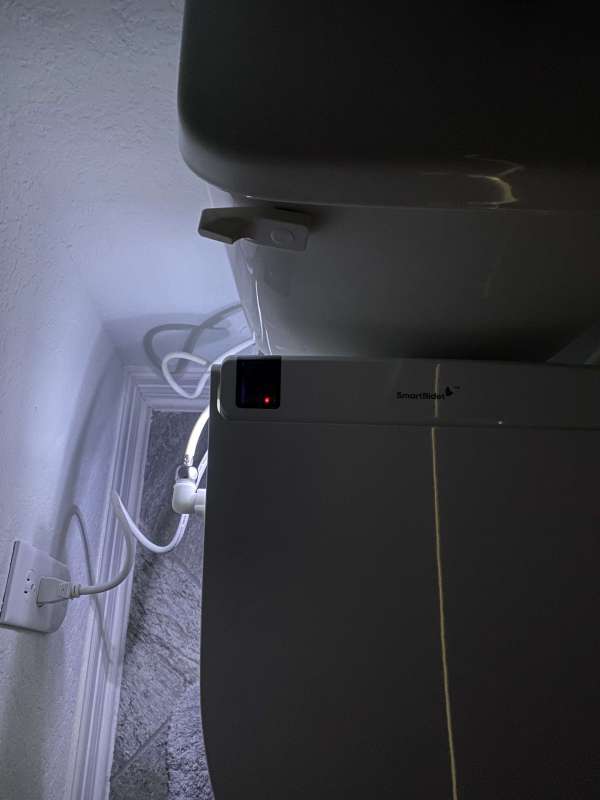
The SmartBidet SB-3000 bidet has three LED lights in the upper left corner: Occupancy Sensor, Energy Saver, and Power. The power button lights up when the device is plugged in or when the power button on the remote is pressed. The occupancy light turns on when you sit on the toilet seat and get up for a few seconds. Finally, if you press the energy saving button on the remote, the energy saving light will turn on. Eco mode keeps the water temperature at a fixed 89.6 degrees Fahrenheit.
On the right side of the bidet, where the power cord comes out, there is a button you can press to release the toilet seat from the bracket. This feature worked smoothly and I never had any issues fitting the toilet seat to the stand.

To the left of the toilet seat are buttons that you can use to control the SmartBidet SB-3000 bidet if you don’t want to use the remote. You can only turn on or off after wash or women’s wash. The square light is the power button for the device. You can also see a night light built into the device. It will remain on at all times and will not be activated by motion. If you want it now, you can press the stop and temperature buttons on the remote at the same time.
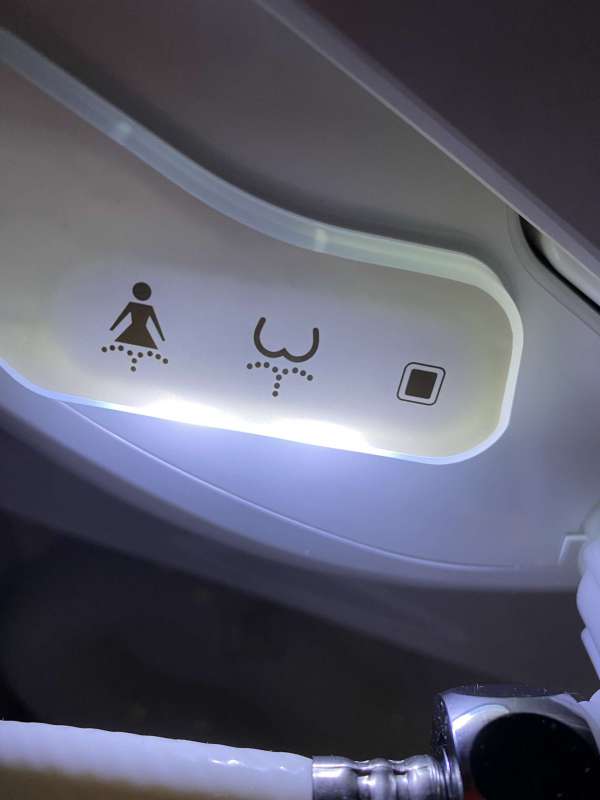
I took this photo so you can see that the area on the left side of the toilet is well lit.
The SmartBidet SB-3000 bidet comes with a truly comprehensive remote control and wall mount. There is 3m tape on the back of the stand for wall mounting. It has a large square that pops out of the stand. Install the remote by placing the square into the hole in the remote. It is very sturdy and easy to install and remove from the wall. I personally never took it off the wall and have memorized all the buttons now.
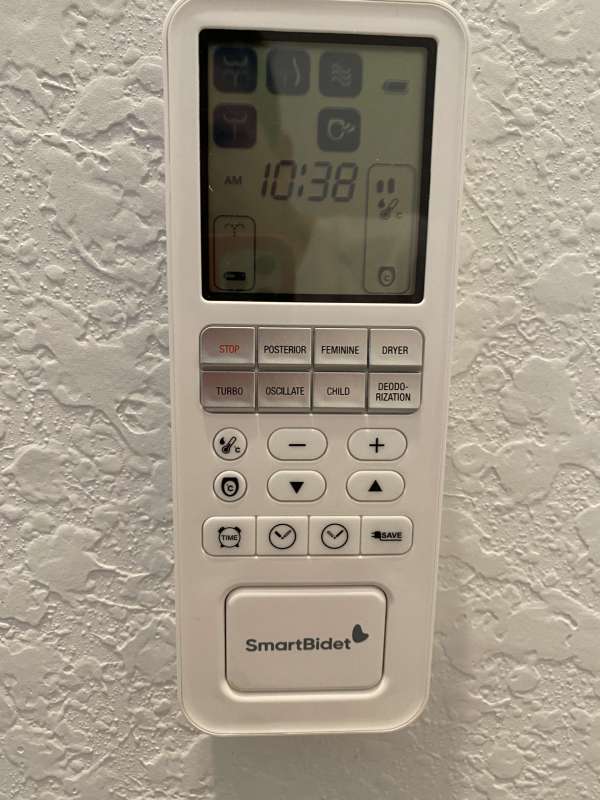
The SmartBidet SB-3000 bidet buttons function as follows:
- Stop – stop the currently running wash or dry function
- Rear – this button opens the mouthwash
- Feminine – this button opens up a more edgy feminine wash
- Dryer – This button turns on the dryer
- turbo – this is for rear and feminine washes – gives you a noticeably harder water push
- Oscillation – this works for back and feminine washes – it moves the water jets back and forth. You can press and hold this button for a few seconds to automatically turn it on or off every time you use the rear or feminine wash.
- Kids – Turn down the water intensity
- Deodorizer – Turn on the deodorizer – It’s important to note that the deodorizer will automatically turn on when it senses the skin on the seat.
- The next row of buttons controls the water temperature. I will notice that the water gets very warm. I use it on the second to lowest settings.
- These plus and minus buttons can also be used to increase or decrease your water pressure.
- The up and down arrows can also be used to adjust the front and rear position of the nozzle.
- The next row of buttons controls the seat temperature.
Before and after each use, the nozzle cleans itself by expelling a small amount of water.
set up
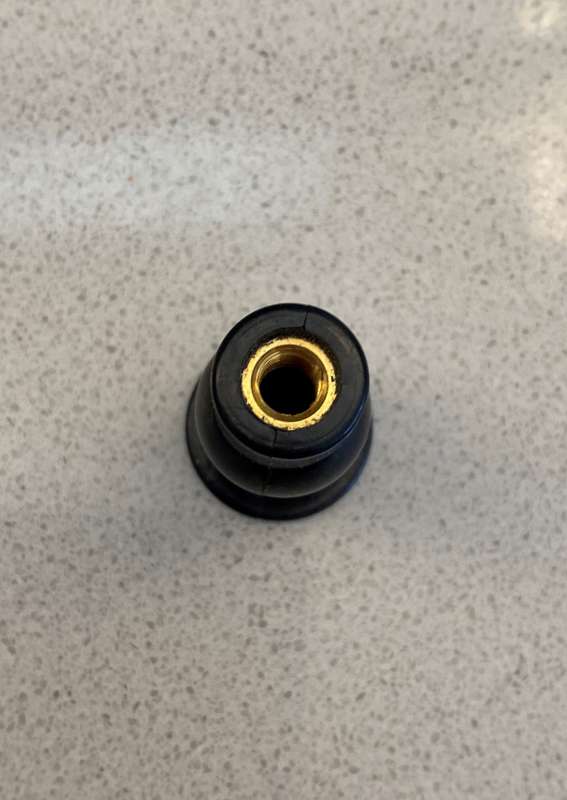
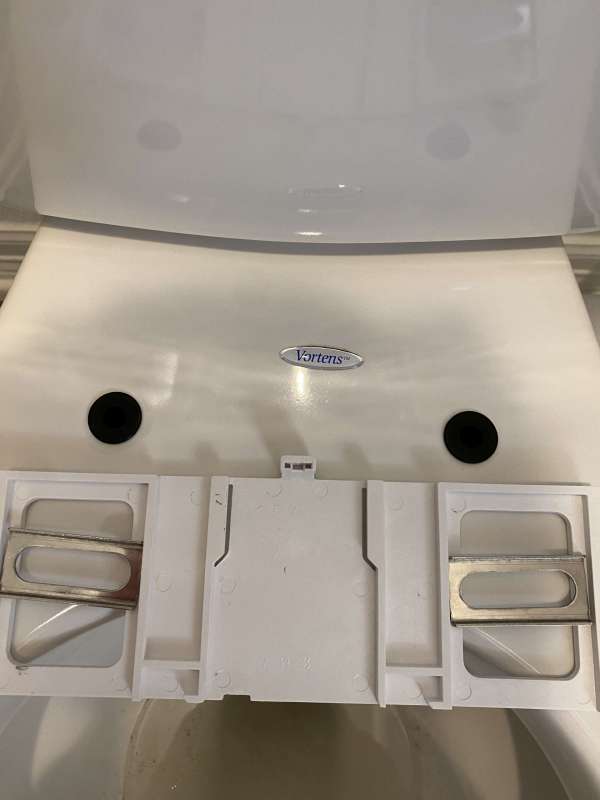
The first thing you will do is remove the old toilet seat and any hardware used to attach it to the toilet. Next, you fit the two rubber-mounted screw bases into the two holes on the back of the toilet. You need to push them all the way down so that the top is flush with the top of the toilet. I used a combination of pushing down and pulling down the rubber bottom end under the toilet with one hand. The picture below is a close-up of the screw base. It’s a nice metal thread that allows you to actually screw the bracket onto the toilet. A lot of toilet seats are plastic these days, and it’s easy to overtighten them and strip the screws. You will not remove these screws.
The next picture shows the two screw mounts with the brackets underneath waiting to be installed. The stand is very flexible, and the metal slider moves up and down in the stand, allowing you to move the toilet seat forward or backward for the perfect fit. With the ability to slide the entire bracket left or right, you can also install screws in a fairly wide range.
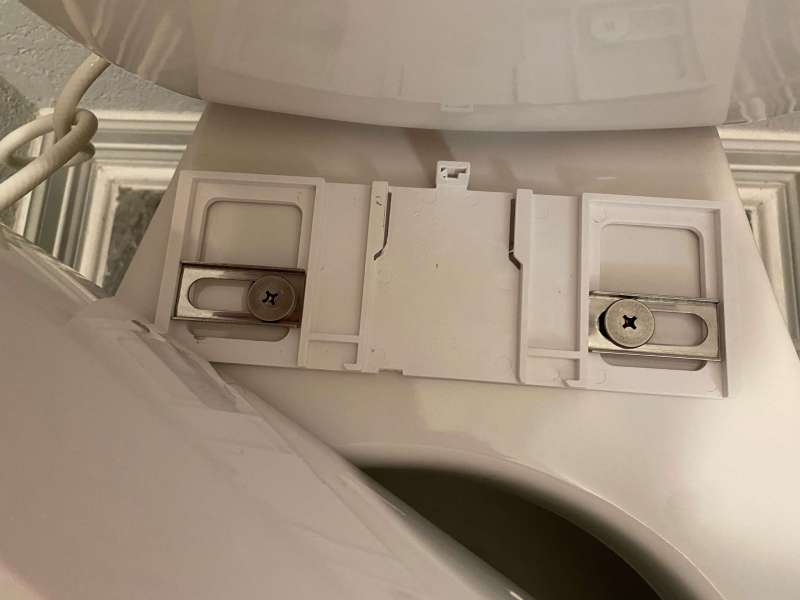
The next picture shows the final mounting point I used for the toilet bracket. This photo was taken after I installed it, then removed it again to re-tighten the screws. I do this to make sure the toilet seat is in the correct position.
Here you can see the seat installed with the lid closed first and then opened.

I would say the seat opening is slightly smaller than the original toilet seat that came with the toilet.
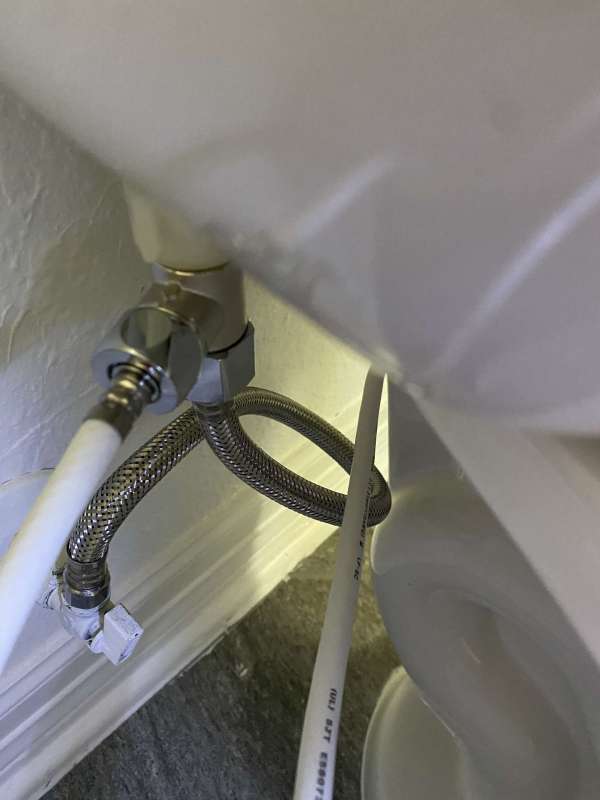
Next, I installed all the plumbing. I found it interesting that the first step in plumbing installation was to unscrew the nut under the tank that connects the water pipe to the tank. There is no mention of making sure you drain the tank first. I learned this lesson in my old house when I replaced the hardware in one of my toilets. The instructions do mention turning off the water first. Needless to say, I drained the tank first and then disconnected the hose from the toilet and the shut-off valve in the wall.
Then I connected the new water line to the shutoff valve and splitter. Then I connected the splitter to the toilet tank. From the splitter, I connected the white hose and connected the other end to the bidet. All hardware is top notch and gaskets are included at every connection. I made sure everything was tightened and turned the water back on. No leaks at all on the first try!
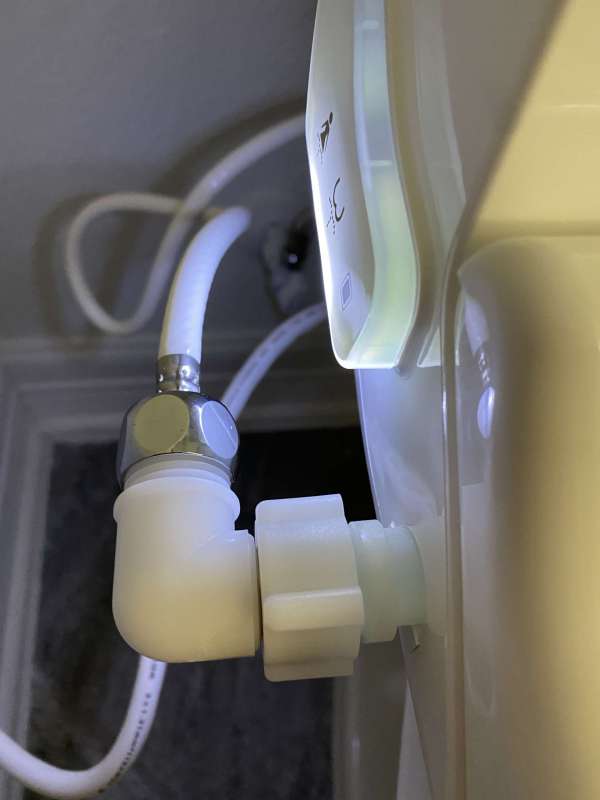
Finally, I plug the SmartBidet SB-3000 bidet into the wall. Even though when I faced it, the cord came out of the right side of the bidet and the socket was on the left side of the toilet, but I had enough cord to connect it to the socket.
Performance
Once I got over the initial feeling of using the bidet, I really fell in love with it. You are definitely cleaner than using plain old toilet paper. One of my main complaints is that the water spray wand can extend forward a bit. I found myself sitting further back than usual on the toilet seat. As a woman, I really wish it could go a little further. Some bidets on the market have complained that the seat makes them feel like they are falling forward on the toilet because it raises the rear of the seat too much. Not so with the SmartBidet SB-3000 bidet.
Dryers can also be more powerful. Afterwards I found myself still needing to use some toilet paper to dry off. I know some people carry a towel around to do this, but I really don’t want a “used” towel hanging around the toilet. I find that I do use a lot less toilet paper than I used to, but I still use it.
what do I like
- Tons of features – you can set the water pressure and temperature to your liking
- Provides quality hardware – no leaks
- very nice remote
Areas for improvement
- I’d love it if the remote was backlit, but now that I’ve memorized the buttons, it’s no big deal.
- The dryer could be a little more powerful. I really don’t want to sit on the toilet for another 2-5 minutes waiting to dry.
- The nozzle tip can be extended a little further.
final thoughts
The SmartBidet SB-3000 bidet is a keeper. Now I have one and I will always have one. This makes me wish I had an outlet in every bathroom.
View our other bidet reviews and also.
price: $529.41
where to buy: Amazon
source: This product sample is provided by smart bidet.

