


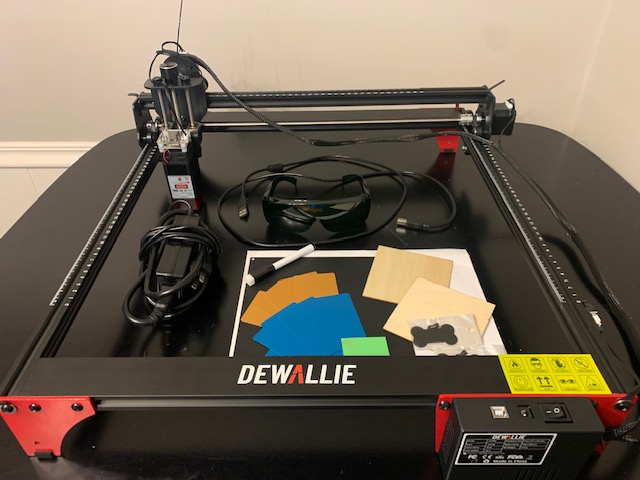
review – I love crafting!i own one Cricket It allows me to do most things except sculpting. I’ve considered buying an engraver because of all the other options, but never pulled the trigger. When given the opportunity to test the Dewallie LA-400 laser engraver, I would never give up. This is my situation.
What is it?
The Dewallie LA-400 Laser Engraver is a compact home desktop engraver. This machine can laser engrave and cut graphics and images on wood, paper, leather, acrylic, and more.
Hardware Specifications
Model: LA 400
Laser power: LA-2: 5W
Engraving size: 400 x 400 mm
Accuracy: 0.01 mm
Wavelength: 445±5nm
Product weight: 4.4 kg
Product Dimensions: 616 x 577 x 212 mm
Focus: 0.08-0.1mm
Input voltage/current: 12V/1.7A
Module power: 4500~5500mW
Fan speed: 8000RPM
Data transmission method: USB connection
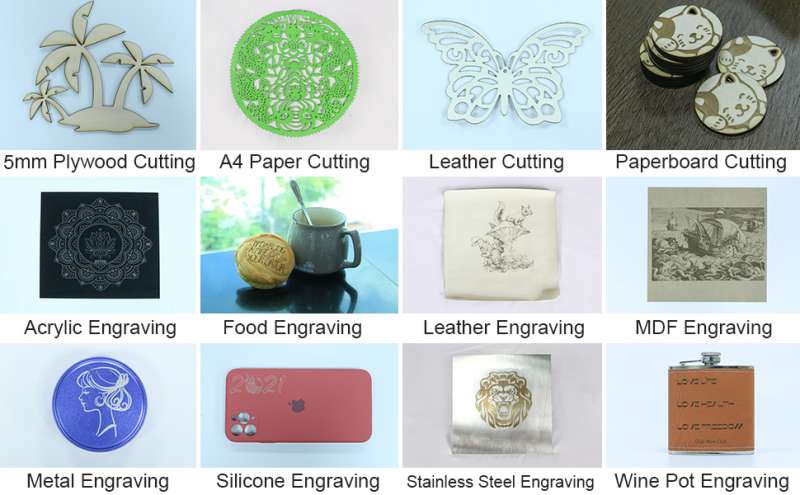
Supported cutting materials: cardboard, non-woven fabrics, thin sheets, acrylic materials, some thin plastic sheets
Supported engraving materials: paper, cardboard, plastic, PCB board, alumina, non-reflective plating surface, paint surface, white surface
What’s in the box?
I appreciate a well packaged product and when this one arrived it did not disappoint. Not only does it ship in a box in a box, but each piece is nicely placed in a Styrofoam protective insert, ensuring that all parts are protected during shipping.
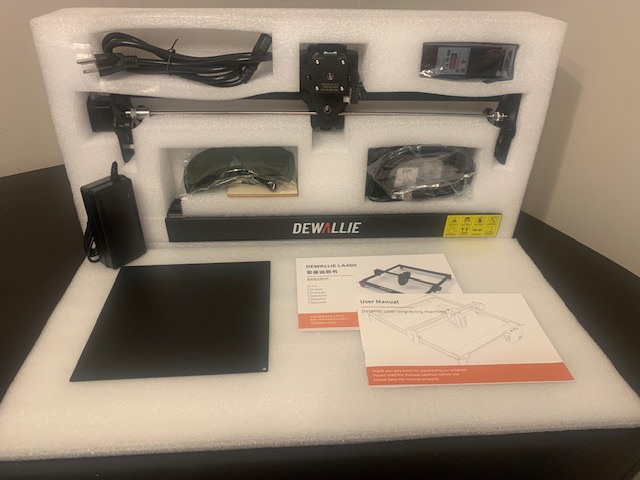
- Side: 2040 profile x2, 2020 profile x2
- cantilever
- main control box
- LA-2 laser head
- switch group
- Hexagon socket head countersunk head screws: M3x8 (3)
- Ball head screws: M5x6 (4), M5x16 (8)
- Cylinder head screws: M3x6 (2), M5x20 (8)
- Cable ties x 5
- Legs x 3
- Spacer x 4
- Belt x 2
- Assembly tools
- Power cords and adapters
- USB data cable
- protection goggle
- Assembly Manual
- User Manual
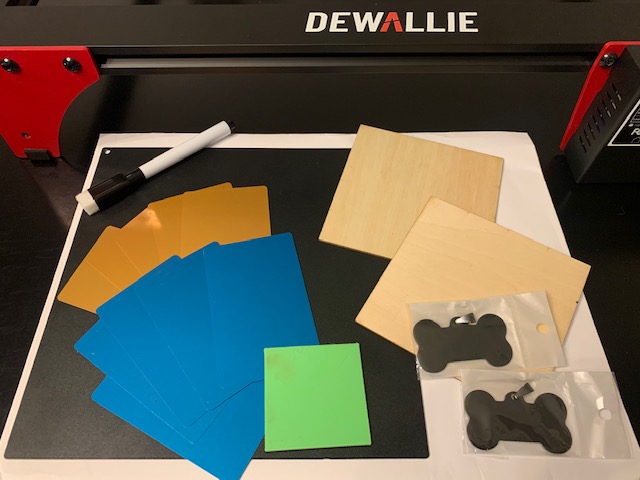
The Dewallie LA400 also includes a variety of materials for practicing carving and cutting.
part
The machine comes with a step-by-step guide for assembling the Dewallie LA400 Laser Engraver. The manual is written in six different languages, and while I appreciate that, I feel like it lacks all the detail and visuals I need to successfully put it together without issue. For this reason and the fact that I made some mistakes and had to reassemble, I would like to highlight a few things to keep in mind when assembling the machine.
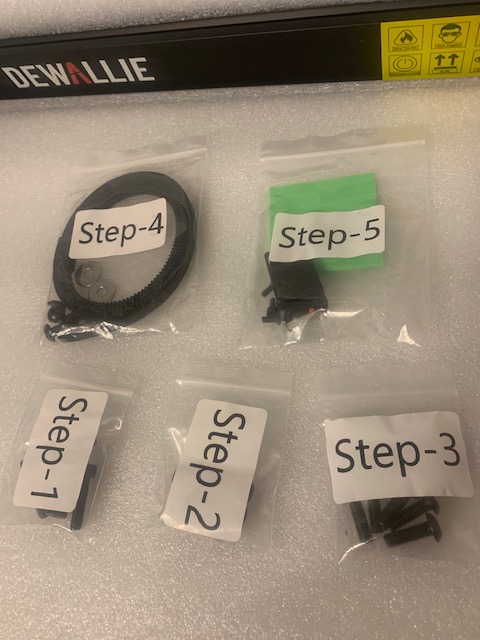
I must mention that I appreciate that the appropriate parts required for assembly for each step of the process are separated and labeled. This is very helpful when putting the machine together.
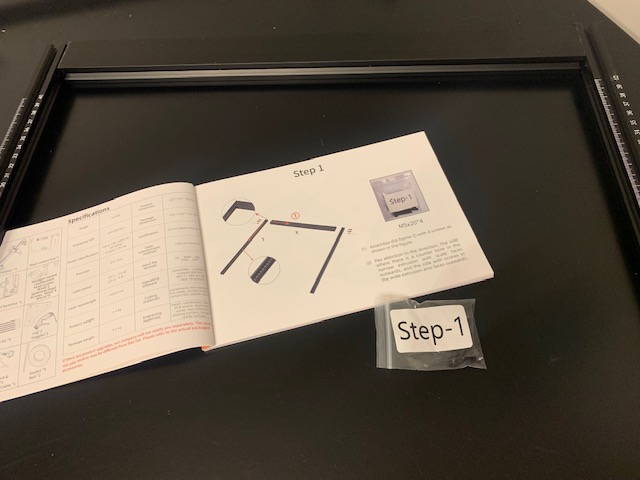
Step #1: Assemble the Frame
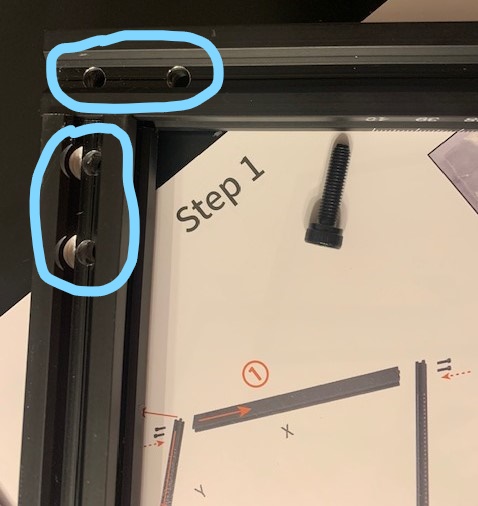
Make sure to pay attention to the direction in which you place each piece. The main trick for this step is to make sure you’re using the side with the wide screw holes on the outside. See below.
Step #2: Slide Over Cantilever and Add Remaining Side (“Dewallie” Sheet)
Make sure the laser head holder on the cantilever is facing the “Dewallie” sheet. If you see it, this is my mistake!
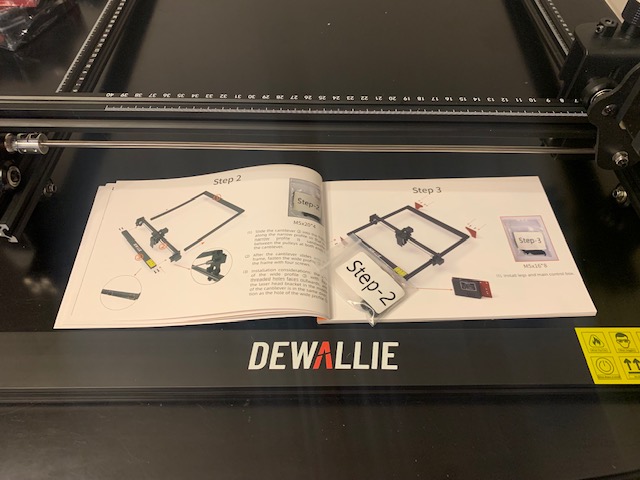
Step #3: Install Outriggers and Main Control Box
I found it a little awkward to screw on the control box legs, the other three were simple. I have a hard time using the lever to tighten the screws. For a better angle, I like to tilt the frame up, which causes the cantilever to roll back.
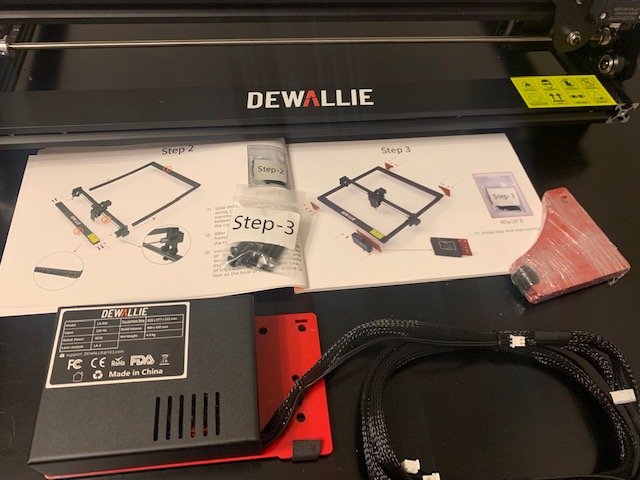
Step #4: Insert the Straps
This is by far the trickiest step. If you can find someone to help you step by step, it will make a big difference. Here, you’ll see how your legs were aligned in step 3. You have to thread the belt through the square hole in the leg, align the belt along the guardrail, and pass the belt through the two pulleys of the cantilever and timing pulley. If possible, be patient with this step.
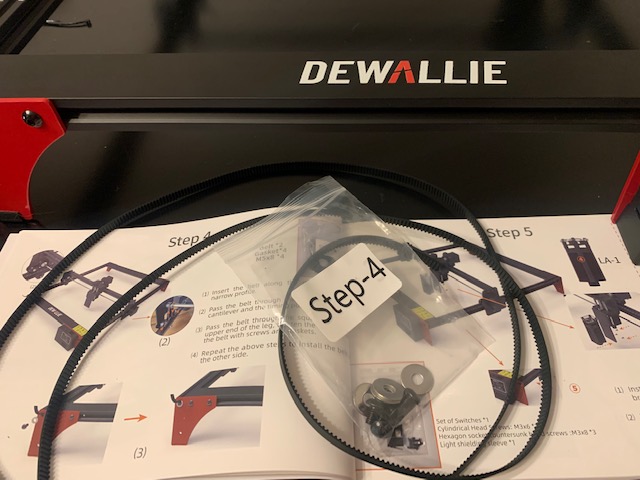
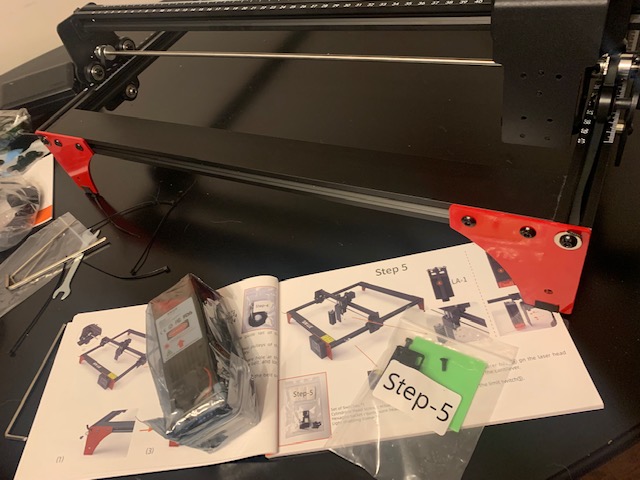
Step #5: Install Switch and Laser Head
As you can see, I haven’t found my cantilever to be backwards here. This is the step where I found the error! This is also a tricky step to screw in all the little screws when attaching the laser head. As you can see, what disappointed me the most was the hole mismatch. So it took me a few minutes to figure out which holes I needed to use to attach the laser head to the laser head bracket.
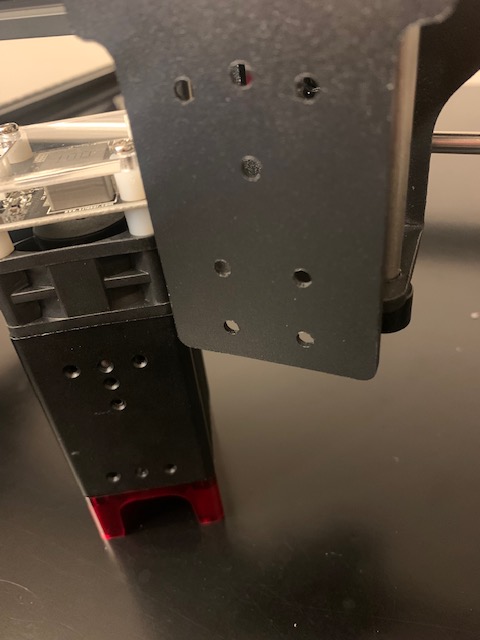
Step #6: Connect the Cables
The manual does a good job of showing this step of where to connect which wires on the machine. Finally, attach the cable ties as instructed and you should be ready to rock!
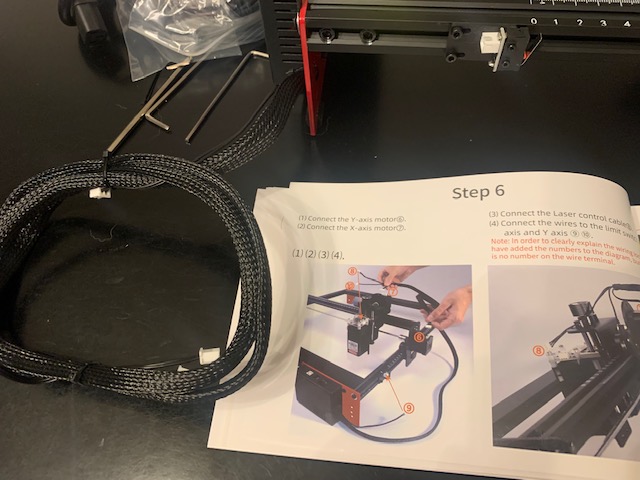
After installing the software and trying to use the Dewallie LA-400 laser engraver, I can’t move it.I did troubleshoot with my contacts make the best It will still connect to the software, but it won’t go anywhere. I’ve tried everything from reinstalling software, loosening and tightening straps, rechecking wires, etc. Finally, this was the third time I unraveled all the control cables and reconnected them and it worked. I can’t tell you what I did wrong, but I think I finally got it right and it has worked since.
Operating software
The Dewallie LA-400 Laser Engraver supports the most popular operating software Laser GRBL and light burn.
Laser GRBL It is a very popular free software that supports Win XP, Win 7, Win 8, XP, Win 10 systems. You will need to download the software from the website following the prompts listed in the Dewallie User Manual.Another operating software option is light burn. LightBurn is great for Mac users and also supports Windows. LightBurn software is a paid service, but you can get a 30-day free trial to see if it’s worth it for you and your needs.For review purposes, I focus all my energy on learning and using Laser GRBL software.
Note: No matter which operating software you use, your machine will receive commands from your computer, so make sure to stay connected at all times during use.
Design and Features
I want to start by telling you that you need to be prepared for smoke, fumes and bad smells. It is a laser engraver, which means the laser is burning the material to create the engraving. Therefore, you need to make sure to use it in a well-ventilated area. There are plenty of creative people out there who have created vented boxes for their machines to help you with this, you might be thinking about it, but unfortunately, that’s the reality of laser engravers.
One of the most important steps in using the Dewallie LA-400 Laser Engraver is ensuring that the laser is focused and positioned correctly. The Dewallie LA-400 makes this easy. It has a fixed focus laser with a specific focus position located 2mm from the bottom of the hood.
A 2mm positioning block is included in the package to ensure you can easily adjust the laser to the magic 2mm height. Simply move the laser head over the object you want to engrave or cut using the adjustment knob on top of the laser head holder. Place a 2mm positioning block on the object to be engraved or cut. Turn the adjustment knob until the shade cover contacts the stop. Slide out the positioning block and start.
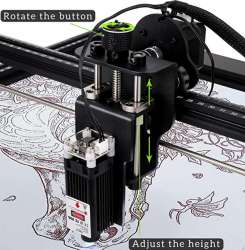
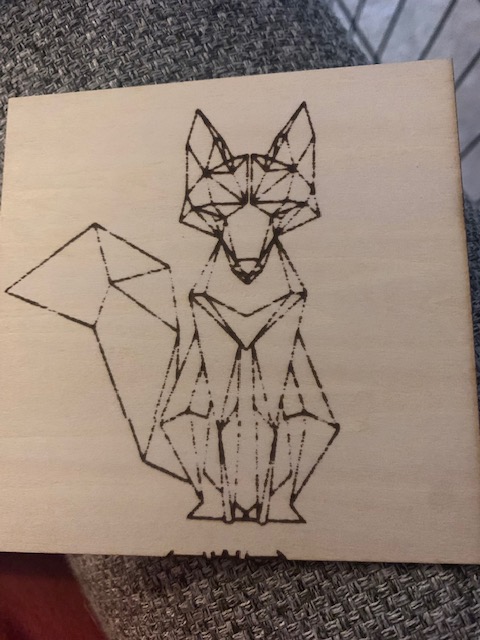
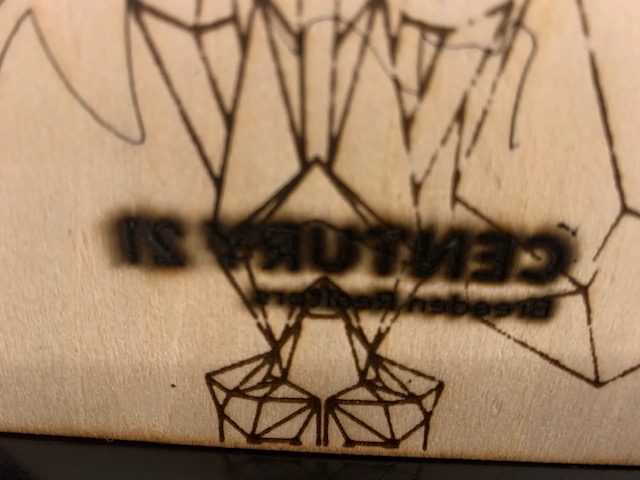
After adjusting the laser height, I started my first attempt at engraving. This is a picture of a fox design my daughter found on the internet. I just kind of liked this, made sure the image fit my material and then it worked. I didn’t pay much attention to all the options for speed and power.
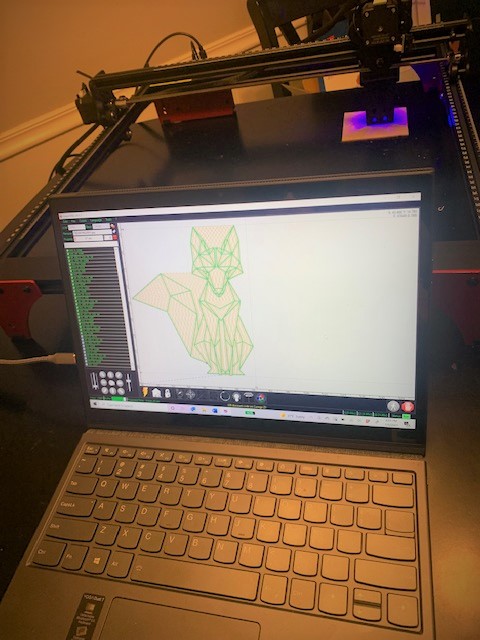
To my surprise it didn’t actually get too bad.The picture quality is not super good, like I said, I didn’t mess with all the settings and I didn’t get it right Laser GRBL software at this time.
I decided then I wanted to try the cut function.again no right Laser GRBL software at this time. I do know that I need to change the settings to Cut & Engrave and it will take multiple passes. So I use the logo on my computer for my real estate brokerage business.
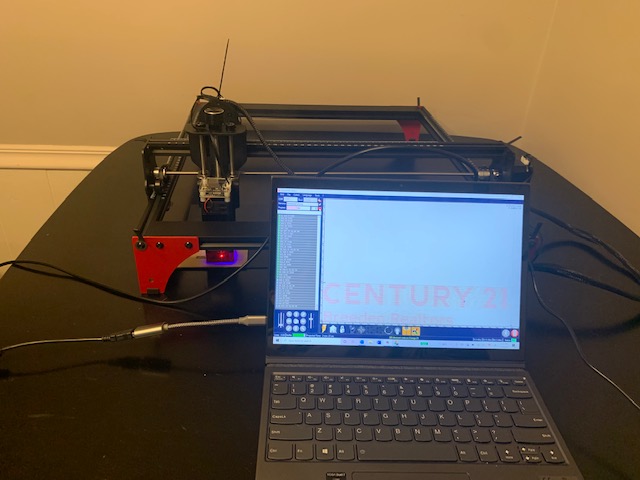
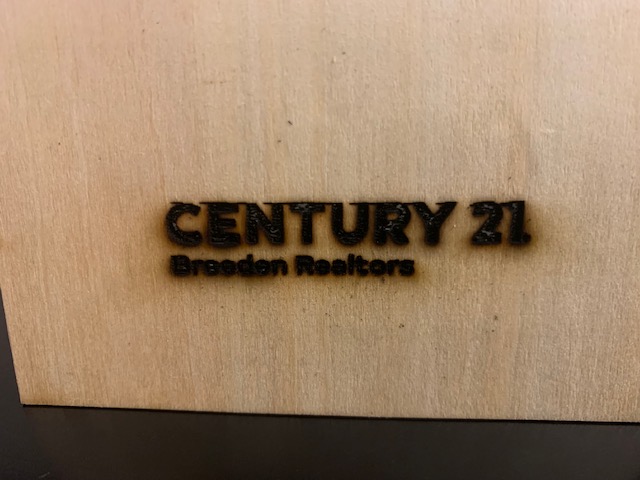
It looks great as a first pass sculpt. The second level is darkened. By the third pass it looked burnt, but as you can see it did go through the material. After research, my laser parameters are set wrong and can’t achieve what I want to accomplish.
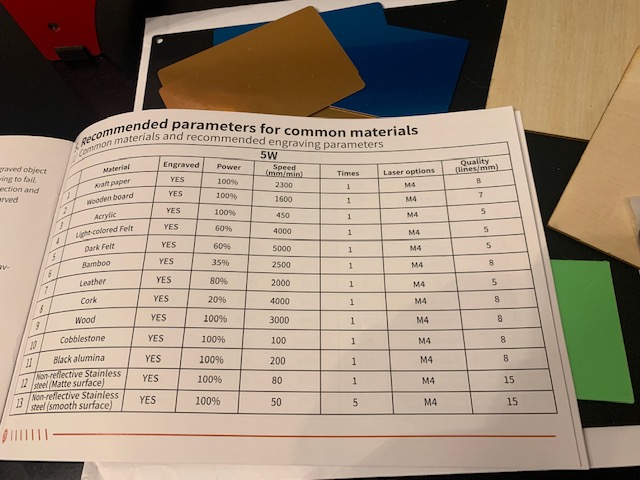
The back of the user manual that came with the Dewallie LA-400 laser engraver does have a section on commonly used materials and their parameter recommendations. As you can see, it will tell you the power percentage, speed, and number of passes (number of times) for each material. This is definitely a great resource when it comes to figuring out how to use your machine.
Finally, after really digging through different online sources, LaserGRBL FAQ especially read and follow LaserGRBL Community Facebook Group, In general, I learned a lot of tips and tricks about using the software and the laser engraver (as this group is for the software, not the Dewallie LA-400 specifically).
I decided to just cut a simple triangle next.
according to LaserGRBL Community Facebook Group, one of the members mentioned that the 1bit BW Dithering mode might be a better cut repair method. In this mode, he prefers Jarvis and Diagonal’s options, so I go with that.
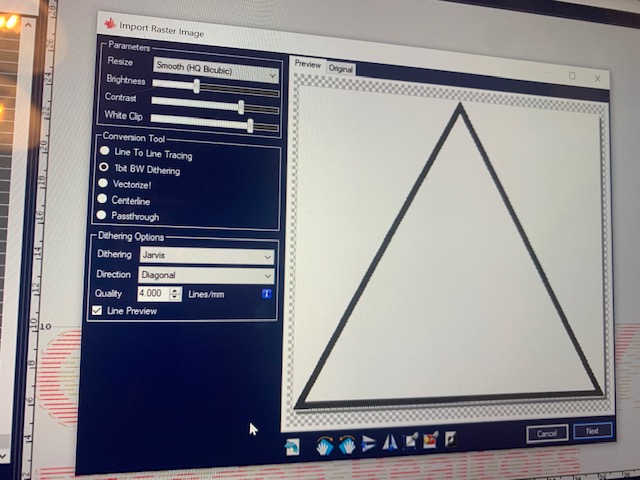
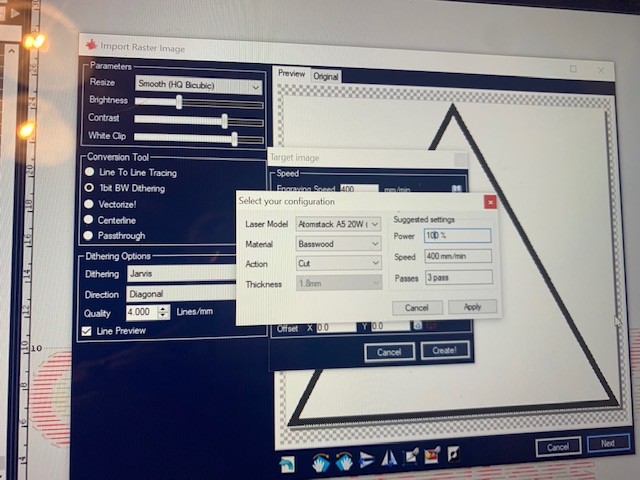
The next configuration, recommended 400mm speed, 100% power, 3 times.
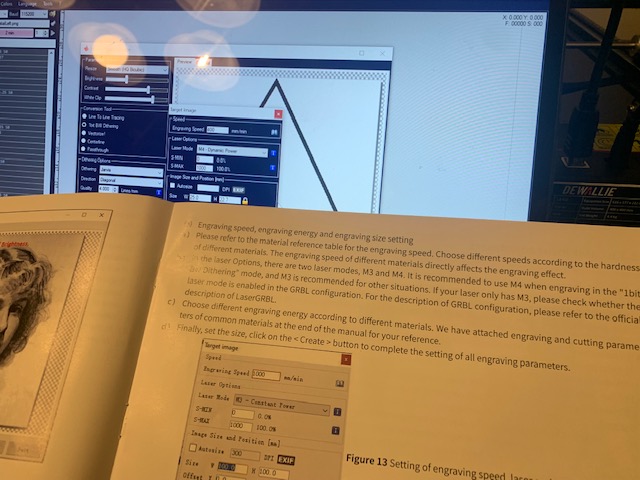
The user manual that came with the Dewallie LA-400 laser engraver does mention when selecting the “1bit BW Dithering” mode – you will want to select the M3 laser mode. In all other cases you will always use the M4 laser mode option.
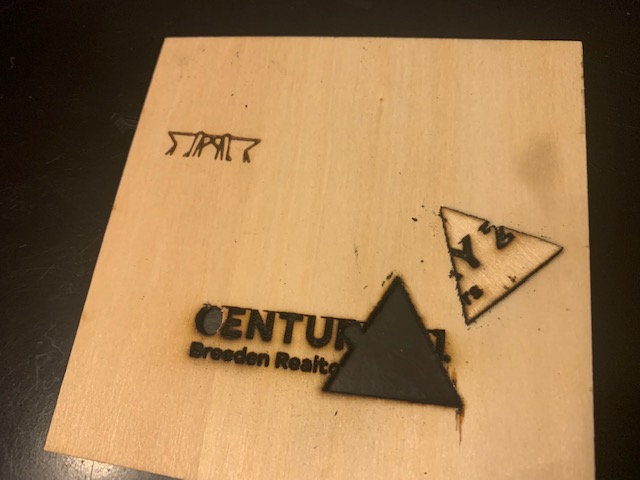
Here is the triangle. It just pops up. Seems a little rough since I’ve been using the same practice material, but overall I believe I’m finally starting to understand and love the Dewallie LA-400.
I would like to show you some other materials and more successful projects.
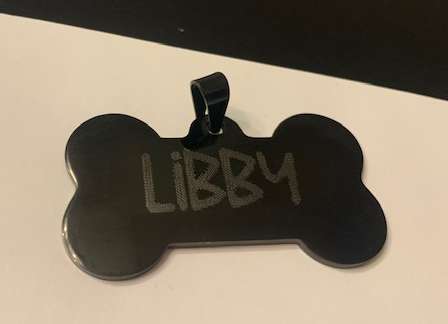
This is a metal dog tag I made for my fur baby Libby.
Finally, I thought I’d show you a small example of how toggling a few parameters can change the overall look of the final product.
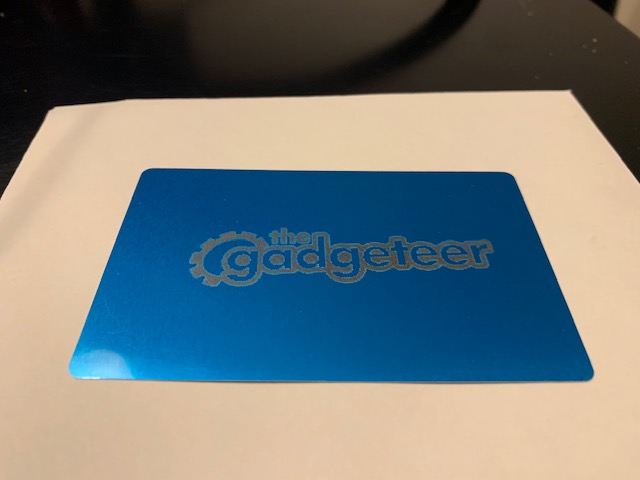
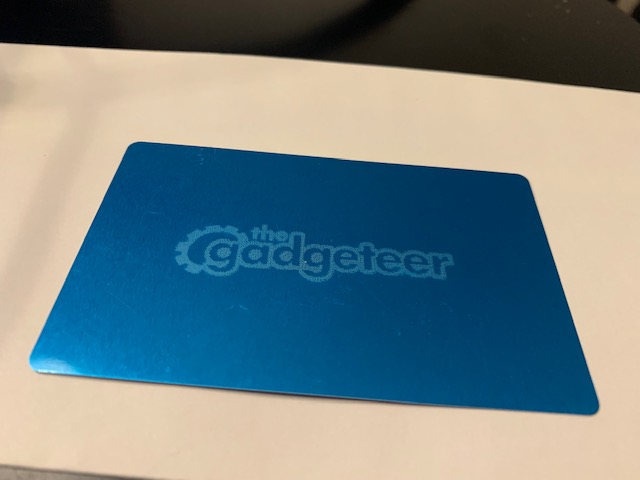
To become a confident laser engraver, I still have a lot of learning to do, including mastering Laser GRBL software and configured my Dewallie LA-400 laser engraver to the correct perimeter based on the material and design. So far I’m very happy with my Dewallie LA-400 and I’m excited to continue learning and loving this machine and everything it can do!
see it in action
what do I like
- Sharp and detailed engraving and cutting
- Sturdy and well made
what would i change
- More detailed assembly instructions in the manual
- Consider close-up visuals
- Consider including more practice material
Love the idea of a laser engraver, but only for smaller jobs?See my reviewer Julie’s comment on the smaller option Dewallie Mini Portable Laser Engraver.
final thoughts
I still have a lot to learn in terms of using the operating software, choosing the correct material parameters, and laser engravers in general.However, with the help of the organization LaserGRBL Community Facebook Group, With practice and trial and error, I’m sure I’ll enjoy using the Dewallie LA-400 Laser Engraver. Overall, I’m excited to welcome the Dewallie LA-400 into my crafting world!
price: $299.99
where to buy: make the best and Devali (Save $10 on any order over $99 – coupon: gadgeteer on both sites)
source: Samples for this review provided by make the best.


